
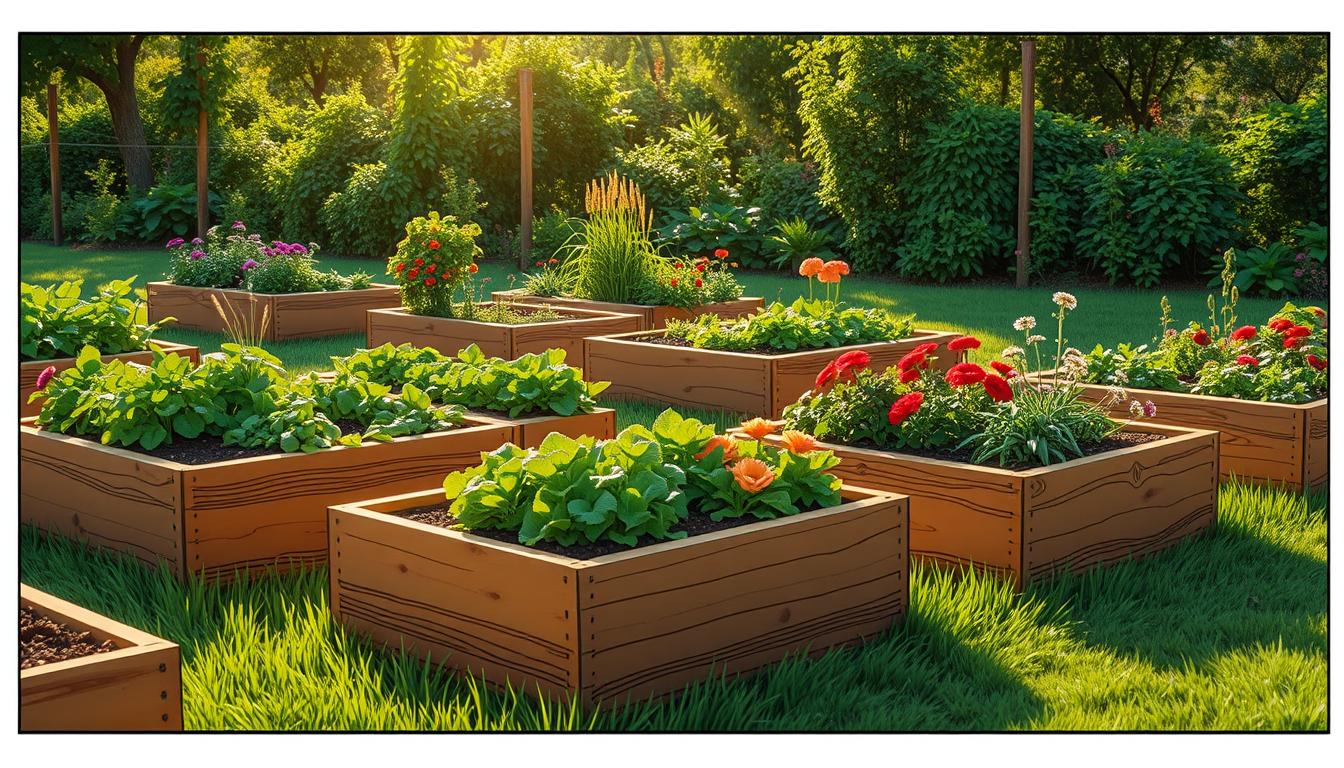
Are you tired of the challenges of traditional in-ground gardening? Raised garden beds can change the game for you. They offer a new way to grow your own food at home. This guide will help you build your own DIY raised garden beds, from picking the perfect spot to caring for your garden.
Key Takeaways
- Raised garden beds offer better soil control, improved drainage, and are easier to maintain than traditional gardens.
- This guide covers key steps, like choosing the right spot and planning your garden, picking materials, and building the beds.
- It includes detailed instructions on filling the beds with the right soil mix and planting various vegetables, herbs, and plants that grow well together.
- It also provides tips on watering, fertilizing, and controlling pests to keep your garden healthy.
- The step-by-step guide makes building DIY raised garden beds easy for gardeners of all levels.
Choosing the Perfect Location
Choosing the right spot for your raised garden is key to success. Where you place your raised beds can greatly affect how well they do. Let’s look at what to think about when picking the best spot for your garden.
Considering Sun Exposure
Getting enough sun is vital for your plants to grow well. Try to put your raised beds in a spot that gets 6-8 hours of direct sunlight daily. Most plants love full sun, so avoid places that are always in the shade. Watch how the sun moves during the day and seasons to make sure your garden gets enough light all year.
Avoiding Shaded Areas
While you want lots of sun, avoid places that are too shady. Too much shade can hurt plant growth and make your garden less productive. When picking a spot, think about any things that might block sunlight from reaching your garden.
By thinking about sun and shade, you can make a great raised garden. With the right spot, your garden will get plenty of sun and grow well. This means you’ll have lots of fresh, tasty produce all season.
| Factor | Ideal Conditions |
|---|---|
| Sun Exposure | At least 6-8 hours of direct sunlight per day |
| Shaded Areas | Minimal to no shade from trees, buildings, or other structures |
| Garden Location | South-facing direction for optimal sunlight |
| Soil Quality | Well-draining, nutrient-rich soil |
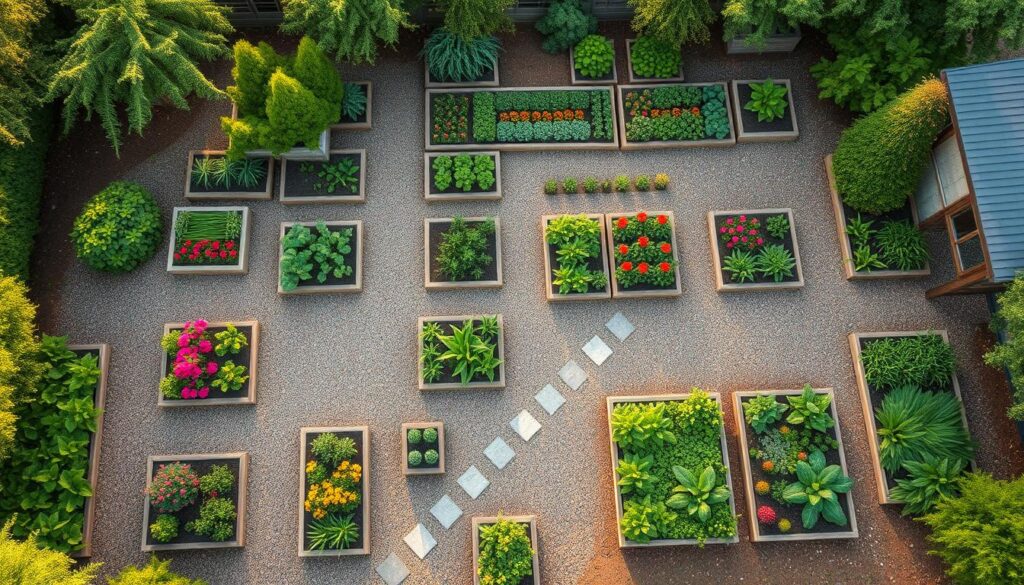
Planning the Layout
When planning your raised garden beds, think about the right size and spacing. Experts say keep each bed less than 4 feet wide for easy reach from both sides. The length should be around 8-10 feet to avoid the beds bowing.
It’s also key to space the beds right. Leave 28-36 inches between them for walkways and to fit a wheelbarrow. If your garden is small, use smaller beds that line up to save space.
Ideal Bed Dimensions
- Beds should be no wider than 4 feet for easy access from both sides.
- Limit individual bed lengths to around 8-10 feet to prevent bowing of the longest sides.
Spacing Between Beds
- Allocate at least 28-36 inches of space between beds for walkways, wheelbarrow access, and maintenance.
- In small spaces, consider creating a series of smaller, end-to-end beds to achieve the desired length.
Plan your raised garden beds well to use space wisely, make it easy to get around, and grow more efficiently. This works great whether you have a small patio or a big backyard.
“The key to a successful raised bed garden is to create a layout that balances practicality, accessibility, and visual appeal.”
Selecting the Right Materials
Choosing the right materials for a vegetable garden in a raised bed is key. The wood you pick affects how long it lasts and how well it supports edible plants.
Cedar and redwood are top choices because they’re weather-resistant and can last 15 years. But, they might cost more. Untreated lumber like hemlock, fir, or pine is cheaper but might not last as long.
Pressure-treated lumber is another choice, but make sure the treatment is safe for food crops. Use fasteners and hardware made for outdoors to avoid corrosion.
| Wood Type | Durability | Cost | Food-Safe |
|---|---|---|---|
| Cedar | 10-15 years | Higher | Yes |
| Redwood | 10-15 years | Higher | Yes |
| Hemlock, Fir, Pine | 3-5 years | Lower | Yes |
| Pressure-Treated | 10+ years | Moderate | Depends on treatment |
When picking materials for your raised garden beds, weigh the pros and cons of cost, durability, and safety for your organic gardening goals. The right choice means a strong, lasting base for your vegetable garden that will flourish for years.
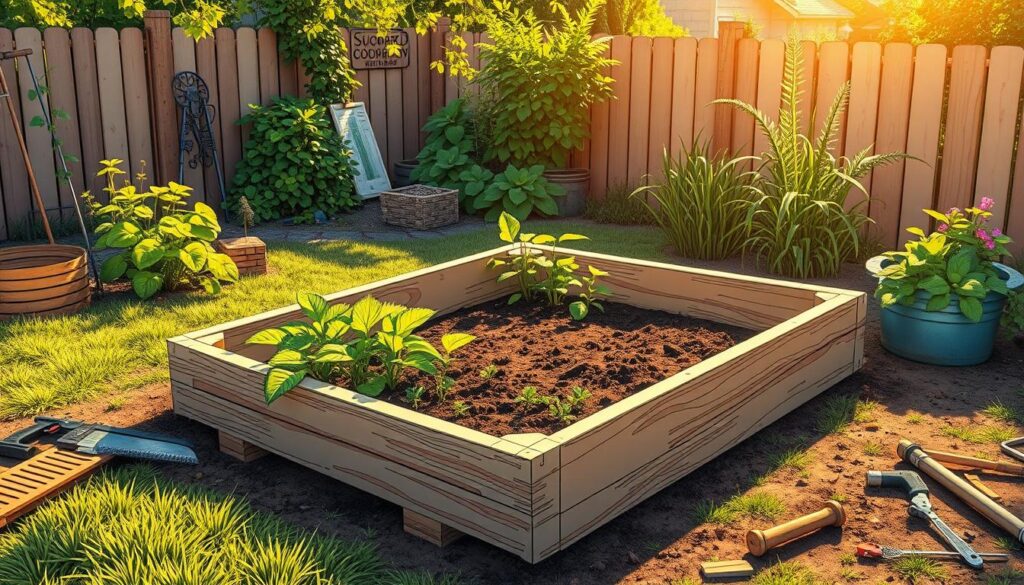
DIY Raised Garden Beds: A Step-by-Step Guide
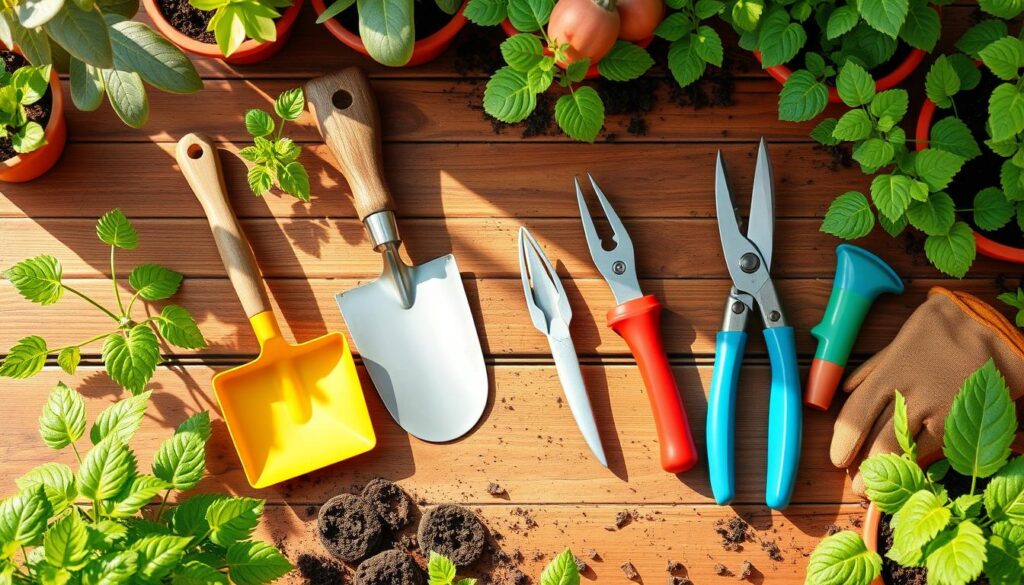
Tools and Supplies Needed
Building your own DIY raised garden beds is a rewarding project. You’ll need tools like a power saw, drill, tape measure, square, and gardening tools. Also, gather lumber, screws, hardware cloth or landscape fabric, and quality soil.
Each DIY raised garden bed costs under $50 to build with cedar fence pickets. Ideal sizes are three feet by six feet for long beds and three feet by three feet for square ones. For a 3’x6′ bed, you’ll need eight 1×6 fence pickets, one 2×4 board, and four metal corner brackets.
For smaller 3’x3′ beds, use five 1×6 fence pickets or 3 ½” wide boards. Choose cleaner boards for tighter joints. Look for the best prices on materials, as cedar might be cheaper in the Pacific Northwest.
Landscape fabric is a good choice to protect the wood and make your raised beds last longer. Attach it to the inside of the bed sides with ½” staples. Build the raised garden bed box outside in a flat area for easier construction.
To stop weeds from growing inside the bed, add a layer of cardboard at the bottom before filling it with soil. With the right tools and materials, you’re ready to build your custom raised garden beds.
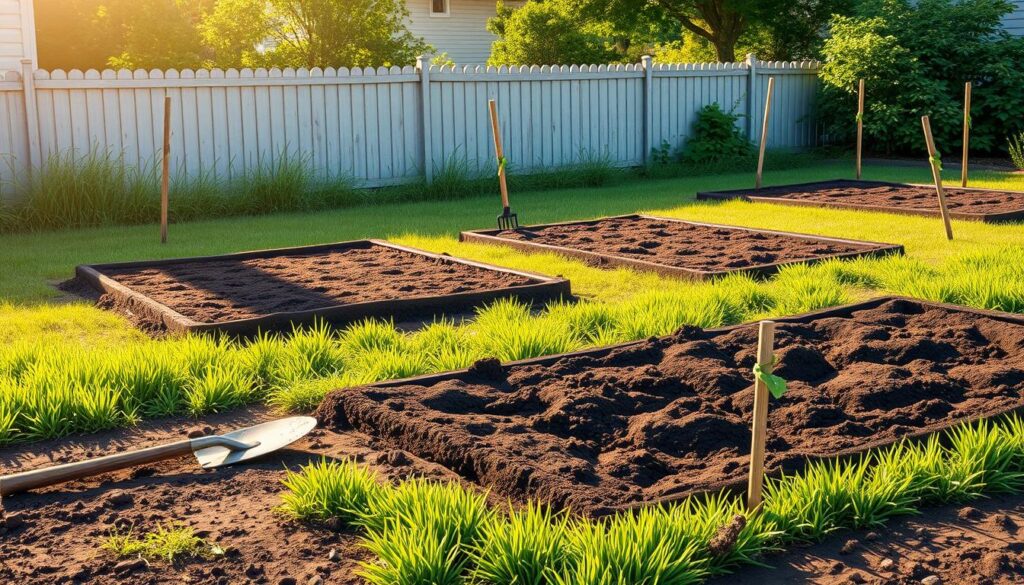
Preparing the Ground
Before you start building your raised garden beds, make sure the ground is ready. This step is key for a stable, level, and healthy garden.
Leveling the Site
First, level the area where your beds will go. Remove any high spots or add gravel or sand to low areas. A flat surface is crucial to avoid drainage issues and keep your beds stable.
Laying Weed Barriers
Then, put a weed barrier at the bottom of the bed. Use landscape fabric or hardware cloth to keep weeds and pests away. This lets your plants grow without competition.
Preparing the site well sets the stage for a successful garden. It ensures a garden that will give you plenty of produce for many years.
Constructing the Raised Bed
Creating a great raised garden bed starts with careful planning. Measure, cut, and assemble the frame well. This sets the stage for a strong and lasting garden bed for your vegetable and organic gardening needs.
Cutting and Assembling the Frame
Start by measuring and cutting lumber for your raised bed. Use 2×6 or 2×12 inches for the boards. Then, put the frame together. Use screws that are at least 3 inches long to join the corners and sides. This makes sure your frame is strong and square.
Adding Reinforcements
To keep the bed stable and prevent warping, add reinforcement posts or braces. These help the bed keep its shape as the soil settles and the wood ages. Use at least two long screws to join corners, and add braces for beds over 6 feet long.
| Material | Quantity | Dimension |
|---|---|---|
| Pressure-treated Lumber | 4 | 2″x8″x10′ |
| Pressure-treated Lumber | 4 | 2″x4″x12′ |
| Galvanized Deck Screws | – | 3 inches |
| Galvanized Deck Screws | – | 2.5 inches |
By doing these steps, you’ll get a strong and well-made raised garden bed. It will be perfect for your vegetable gardening and organic gardening projects. With the right garden bed design and DIY projects, you can make a beautiful and useful gardening structure. This will improve your raised bed construction and woodworking skills.
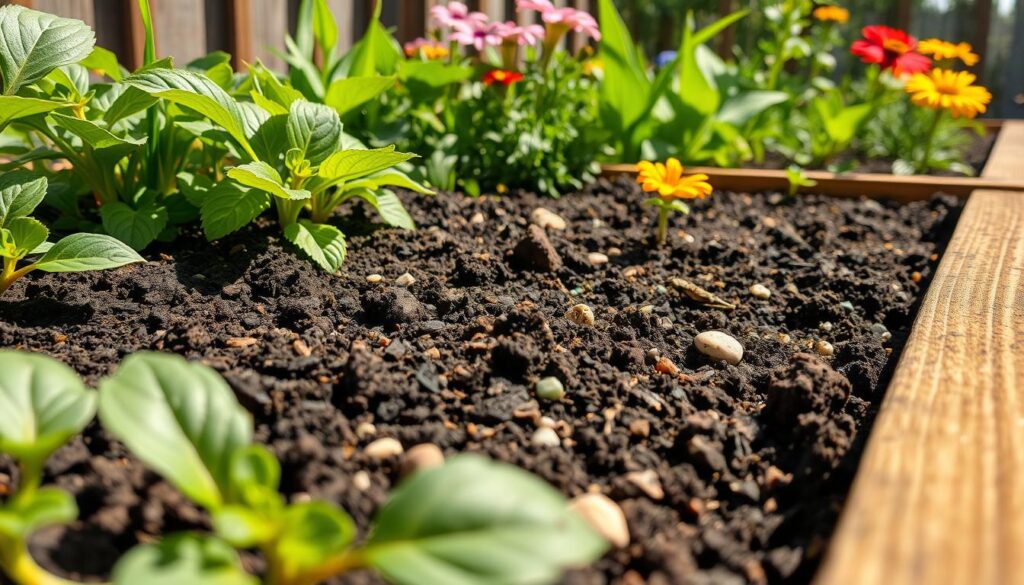
Filling the Bed with Soil
Filling your raised garden bed with the right soil mix is key for healthy plants. Start by figuring out how much raised bed soil you need. Choose a top-quality, nutrient-rich potting mix or garden soil as your base.
Add compost, peat moss, or other organic amendments to boost the soil quality. This mix is perfect for your vegetables and herbs. Don’t use plain topsoil, as it can be too heavy and compact easily in raised beds.
Choosing the Right Soil Mix
There are several options for filling your raised garden bed. A good mix is 50/50 native soil and compost. This blend gives your organic gardening efforts a great start. Or, you might like “Mel’s Mix” from Square Foot Gardening. It’s made of 1/3 compost, 1/3 vermiculite, and 1/3 peat moss.
- For a 4×6-foot raised bed, aim for 18 cubic feet of soil to a 9-inch depth.
- Use a soil calculator to find out how much soil you need for your bed.
- Fill the bed fully, letting the soil settle a bit over time.
Whatever mix you pick, focus on creating a nutrient-rich, well-draining soil. This will help your vegetable garden thrive. With proper soil preparation, you’re set for a great harvest.
Planting in Your Raised Bed
Now that your raised garden bed is ready, it’s time to start planting! Raised bed gardening has many benefits. It lets you grow a wide variety of vegetables and herbs in loose, well-draining soil.
Recommended Vegetables and Herbs
Think about planting these garden favorites in your raised bed:
- Leafy greens (spinach, kale, lettuce)
- Root vegetables (carrots, radishes, beets)
- Tomatoes
- Peppers
- Herbs (basil, cilantro, thyme, rosemary)
Raised beds warm and drain faster in the spring. This gives you a head start on the growing season. They also keep out weeds, pets, and children, helping your plants grow better.
Companion Planting Techniques
To make your raised bed more productive, use companion planting techniques. Pairing certain vegetables, herbs, and flowers helps deter pests, attract beneficial insects, and create a balanced garden. Some popular pairings include:
- Tomatoes and basil to repel aphids
- Marigolds and vegetables to deter nematodes
- Radishes and carrots to loosen soil for deeper root growth
By following these tips and using companion planting, you’ll have a thriving, organic and sustainable raised bed garden soon!
Maintenance and Care
Looking after your DIY raised garden beds is key to a great harvest every year. Let’s go over the main tasks to keep your garden doing well.
Watering and Fertilizing
Watering your raised garden beds right is very important. Make sure to water them often but don’t overdo it. Using a soaker hose or drip system is smart. It saves water and cuts down on waste.
Adding organic fertilizers or compost to your soil is a good idea. It feeds your plants and makes them grow strong and healthy.
Pest Control Methods
- Keep an eye out for pests like aphids, slugs, or caterpillars in your raised beds.
- Use safe, non-toxic ways to fight pests. This can be by adding helpful insects, using diatomaceous earth, or organic pesticides.
- Choose gardening methods that are good for the planet. This makes your garden less welcoming to pests and diseases.
By focusing on watering, fertilizing, and using green pest control, your raised garden beds will flourish. This way, you get a big harvest and help the planet at the same time.
Conclusion
Building your own DIY raised garden beds is a great way to improve your home gardening. It lets you grow a wide variety of vegetables, herbs, and plants. By picking the right spot, materials, and plants, you can make a garden that’s easy to take care of and gives you fresh, healthy food.
This guide gives you all the steps to make and enjoy your own DIY raised garden beds. It’s a fun and rewarding project that can save you money and make the most of your space. You can use these beds on a small balcony, patio, or backyard, no matter its size.
By using the advice in this article, you can turn your outdoor space into a lush garden. You’ll have beautiful DIY raised garden beds, vegetable gardening, herb gardening, and urban gardening areas. It’s perfect for those with limited space or who want to garden in a green way.
DIY raised garden beds are great for small-space gardening and sustainable gardening. They let you grow your own food and connect with nature. You’ll get to enjoy fresh, tasty produce and teach your family about gardening. So, start making your garden construction and garden design project today – your DIY raised garden beds will be amazing!
FAQ
Q: What are the key benefits of growing vegetables and herbs in raised garden beds?
A: Raised garden beds offer many advantages. They have better soil control, improved drainage, and are easier to maintain than traditional gardens.
Q: How do I choose the best location for my raised garden beds?
A: Pick a spot that gets 6-8 hours of direct sunlight daily. Most vegetables and herbs love full sun. Stay away from heavily shaded areas for enough light all year.
Q: What are the ideal dimensions and spacing for raised garden beds?
A: Keep beds no wider than 4 feet for easy access. Lengths can vary, but keep beds around 8-10 feet long. Leave 28-36 inches between beds for walkways and upkeep.
Q: What type of wood should I use for my raised garden beds?
A: Cedar and redwood are great because they resist the elements. But, they can be pricey. For a budget-friendly option, use untreated lumber like hemlock, fir, or pine. Pressure-treated lumber is also an option, but pick a safe treatment for food crops like ACQ.
Q: How do I properly prepare the ground before assembling the raised garden beds?
A: Level the ground first, then add a weed barrier like landscape fabric or hardware cloth. This stops weeds and pests from getting into your garden.
Q: What type of soil should I use to fill my raised garden beds?
A: Choose a high-quality potting mix or garden soil. Add compost, peat moss, or other organic stuff to make it perfect for your plants. Don’t use plain topsoil because it can be too heavy and compact.
Q: What are some recommended vegetables and herbs to grow in raised garden beds?
A: Carrots, radishes, leafy greens, tomatoes, and herbs like basil, cilantro, and thyme do well in raised beds. Using companion planting helps keep pests away and boosts your harvest.
Q: How do I maintain my DIY raised garden beds to ensure a healthy, bountiful harvest?
A: Keep your beds watered, feed them with organic stuff, and watch out for pests. Using a soaker hose or drip system helps water efficiently.