
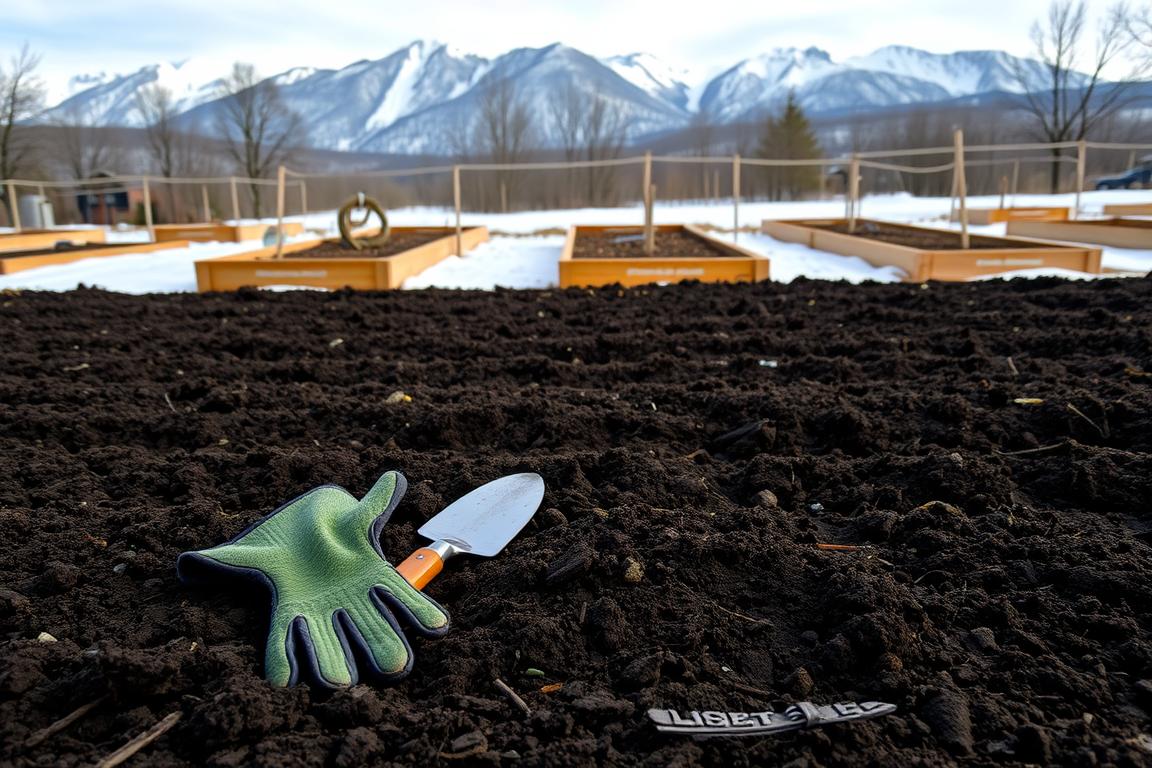
We wrapped up the season with a clear plan so our plots stayed healthy through the deep cold. Preparing Garden Beds for Winter was about simple, repeatable actions we could finish before the freeze.
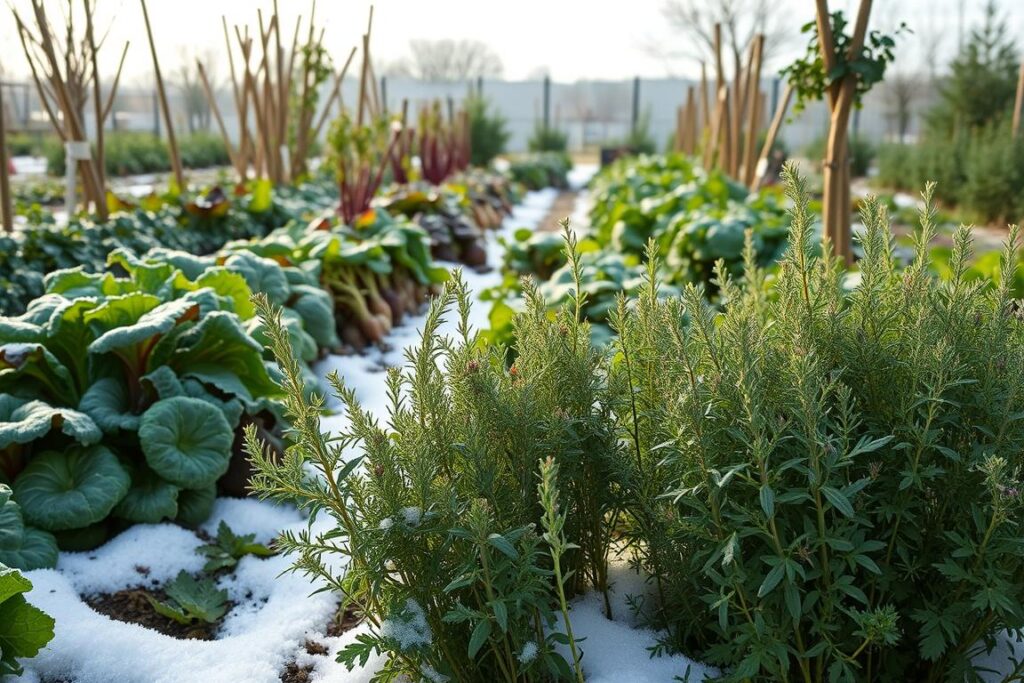
We harvested tender vegetables before the first frost and used row covers for semi-hardy crops. We left hardy greens like kale and Brussels sprouts to sweeten after the cold hit.
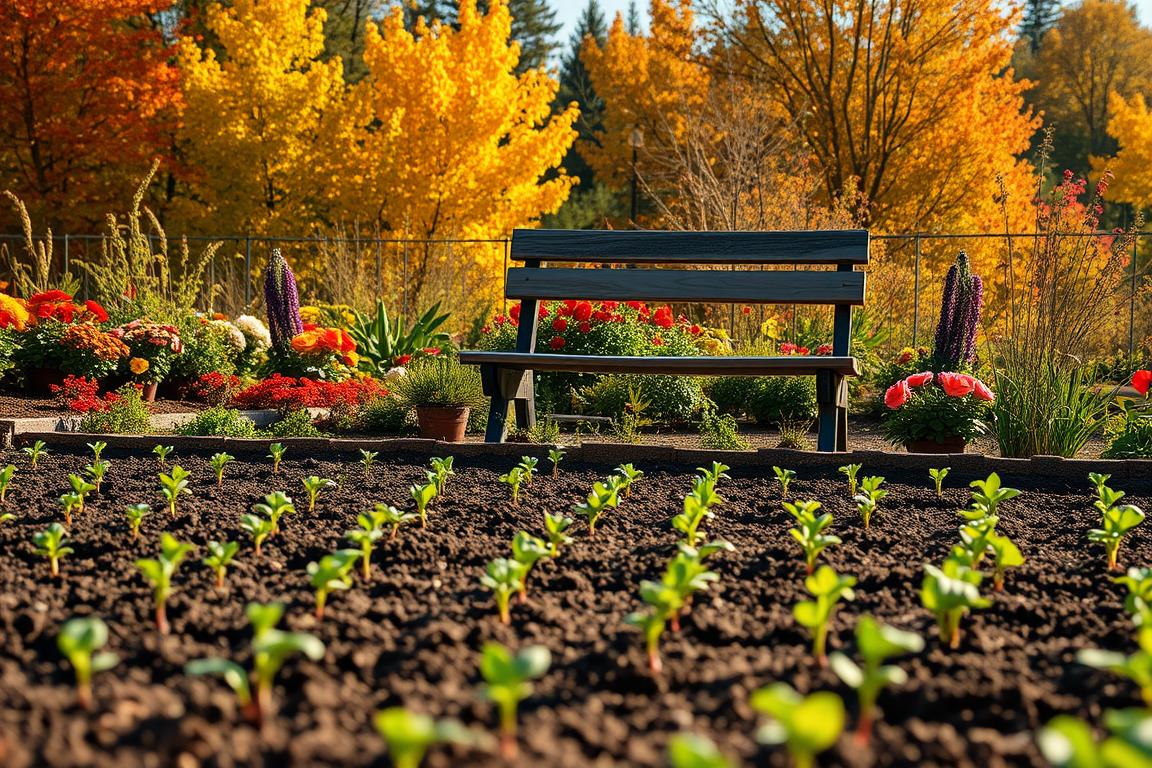
Before the ground froze, we added two inches of compost or manure and mulched lightly to prevent erosion and nutrient loss. We also sowed winter rye where we wanted extra soil conditioning.
Care steps included turning off irrigation, draining hoses, and cleaning and oiling tools. We protected trunks and shrubs with burlap or straw wraps and mulched roses after the first frost.
Key Takeaways
- Harvest tender crops before frost and protect semi-hardy plants with covers.
- Top-dress with compost and add light mulch to hold soil and nutrients.
- Sow cover crops like winter rye to suppress weeds and build soil.
- Shut down irrigation, drain lines, and service tools before storage.
- Wrap vulnerable trunks and mulch roses after the first frost to reduce damage.
Start with Seasonal Timing: Frost, Fall Cleanup, and Our Regional Plan
We paid close attention to local forecasts and soil temps to time each late-season task. That simple habit helped us decide what to harvest, cover, or leave in place as temperatures dropped.
Reading first frost dates and soil temps across the United States
We checked our local first frost date window and watched overnight lows so we could act a few days ahead of a cold snap. When forecasted lows neared 32°F, we covered semi-hardy rows and picked late tomatoes and squash.
What we tackle before vs. after the first frost
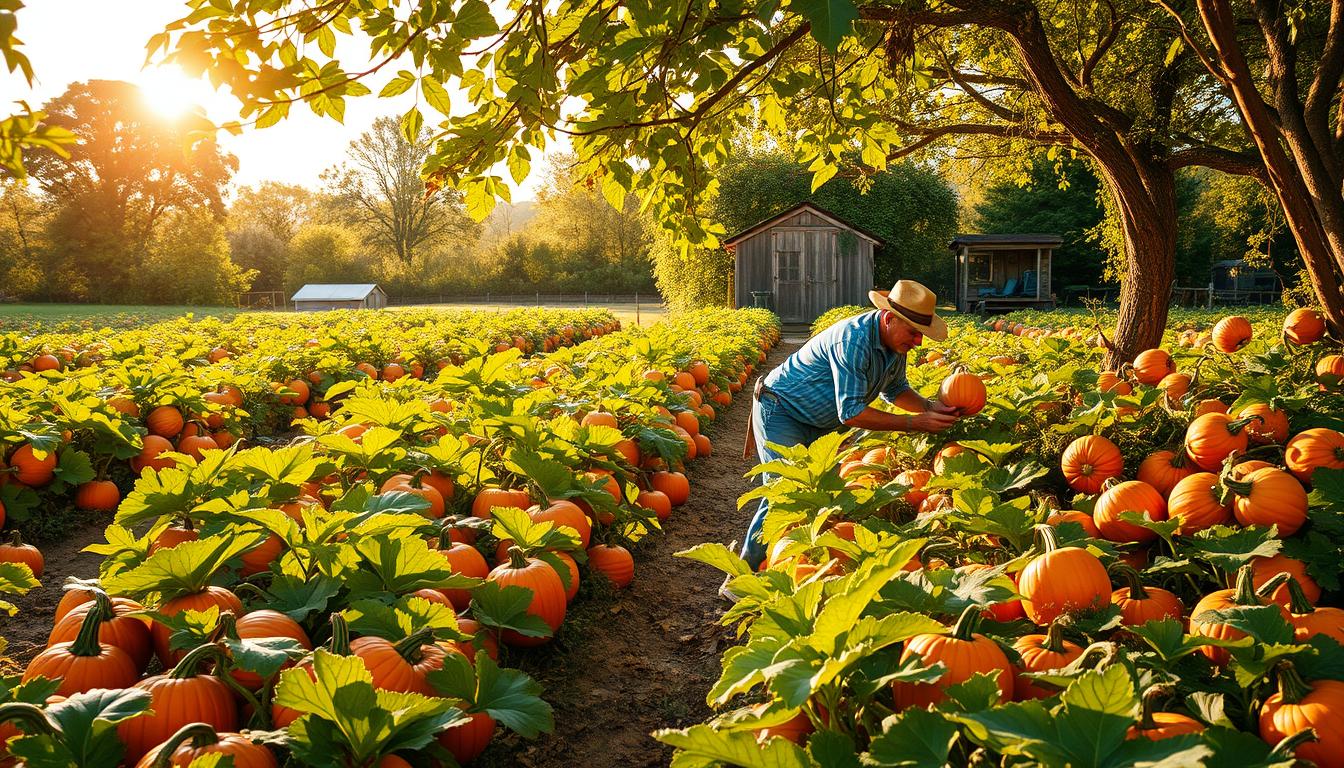
Before the first frost we harvested tender vegetables like tomatoes, zucchini, peas, beans, winter squash, and pumpkins. We cleared diseased debris, top-dressed with compost, staged tarps and hoops, and planted garlic while the ground was workable.
After the first frost we mulched perennials and winterized roses. We avoided pruning trees and shrubs until spring to prevent cold injury and weak regrowth. We also planned tool shutdowns and irrigation blowouts when repeated nights dipped near freezing.
- Assigned go/no-go thresholds: hard frost (25°–28°F) guided which hardy greens could stay.
- Noted when the ground began to crust so we could stop soil work and focus on protection.
Clear Out and Clean Up Garden Beds the Right Way
Our late‑season cleanup focused on removing risky debris while leaving healthy roots to feed soil life. A tidy bed reduces pest harborage and helps soil microbes do their work under mulch.
Remove spent annuals and diseased plants to prevent pests and diseases
We pulled spent annuals so insects and pathogens couldn’t overwinter in plant debris. Anything showing blight, heavy mildew, or viral flags went straight to the trash or municipal disposal. Do not add clearly diseased material to the compost pile.
Weed thoroughly to reduce spring weed seeds in the bed and garden
We weeded deeply before the first hard freeze, targeting taproots and seed heads. Clearing paths mattered too, since seeds migrate into garden beds by spring.
Chop-and-drop vs. pulling: when to compost in place and when to discard
On healthy stems we used chop‑and‑drop, cutting at the base so biomass decomposed on the surface and fed the soil. We left healthy roots intact and trimmed perennials about two inches above soil when we cut back in fall.
- Keep separate piles: safe compost, municipal green waste, and trash for diseased material.
- Label problem areas so we rotate crops away from blight next season.
- Finish with a light rake to smooth the bed before adding compost or mulch.
Supercharge the Soil: Compost, Mulch, and Winter Cover
Before the ground froze, we added organic matter so the soil could take in slow‑release nutrients over winter. We spread about 2 inches of well‑rotted compost or manure across each bed to feed microbes and improve texture.
Mulch choices and placement
We topped amended beds with a light mulch layer—chopped leaves, straw, or wood chips—to reduce erosion and limit nutrient leaching. We kept mulch away from crowns and trunks so stems would not rot.
Sow cover crops to lock in fertility
Where we wanted living roots, we sowed cover crops like winter rye or clover. These plants held soil, captured leftover fertility, and added organic matter when turned in spring.
| Task | Material | Notes |
|---|---|---|
| Top‑dress | 2 inches compost/manure | Boosts soil biology; apply before freeze |
| Mulch | Leaves or straw in veggie beds | Chopped leaves settle and resist wind |
| Perennial borders | Wood chips | Good for paths and ornamentals, not raised frames |
| Cover crop | Rye or clover | Seed at recommended rates; water lightly if dry |
- We matched mulch type to the bed: straw in raised frames, wood chips on paths.
- We tracked amendment depth by bed so nutrient balance is easier next season.
- We capped exposed soil at edges and around perennials to limit winter heave.
Harvest, Protect, or Leave: Vegetables and Herbs as Temperatures Drop
With frost warnings on the horizon, we sorted plants into three groups: harvest, shelter, or leave to toughen.
Tender crops to pick before a freeze
We cleared tender vegetables like tomatoes, beans, summer squash, and pumpkins before a hard freeze could harm fruit quality. This kept loss low and flavors intact.
Semi-hardy crops: bridge light cold
We draped floating row covers or used cold frames over cabbages, chard, and similar plants when nights hovered near freezing. These simple covers bought us extra harvest days without heavy heating.
Hardy greens and roots that improve with cold
We left kale, collards, spinach, and Brussels sprouts in place. Frosts concentrated sugars and improved taste. We mulched sprouts and harvested stalks as needed; some were buried to their tops with hay for winter picking.
- Garlic and root crops: We planted garlic in October or November and mulched to hold moisture.
- Root crops like carrots, beets, and parsnips stayed in the ground after light frost, then were dug before the ground froze.
- Potatoes were cured unwashed in a warm, dry spot for about two weeks to toughen skins.
- We saved seeds from fully matured, open-pollinated herbs and vegetables for next spring.
These steps helped our vegetable garden extend harvests late in the fall and set our crops up for a strong spring the next year.
Perennials, Flowers, and Bulbs: What We Cut Back, Mulch, or Store
Late autumn found us sorting which blossoms to tidy, which seedheads to leave, and which tubers to lift. We worked quickly to reduce disease risk while keeping habitat for birds and pollinators.
What we trimmed and why
We cut back disease-prone perennials such as bee balm, phlox, and hostas once foliage died. This step limited powdery mildew and reduced carryover of pathogens into spring.
Seedheads and seasonal interest
We left sturdy seedheads on coneflower and rudbeckia. The dried flower tops fed birds and added winter structure to beds.
Mulch, lift, and store bulbs
We mulched perennial areas with 3-6 inches of leaves or straw, keeping crowns exposed so plants did not rot. Tender bulbs—dahlias, cannas, gladiolus—were lifted after frost blackened tops. We dried tubers indoors on newspaper, then packed them in peat or shredded paper and stored at 40°–50°F.
- We flagged tender ornamentals and scheduled lifting right after frost.
- We checked stored bulbs monthly and adjusted packing to prevent rot or desiccation.
- We watered newly planted shrubs and plants well before the ground froze.
Tip: We recorded what we cut and what we left so next season’s cleanup and wildlife planning gets easier. Good winter gardening starts with clear notes.
Raised Beds Winter Care: Drainage, Mulch, and Next Year’s Plan
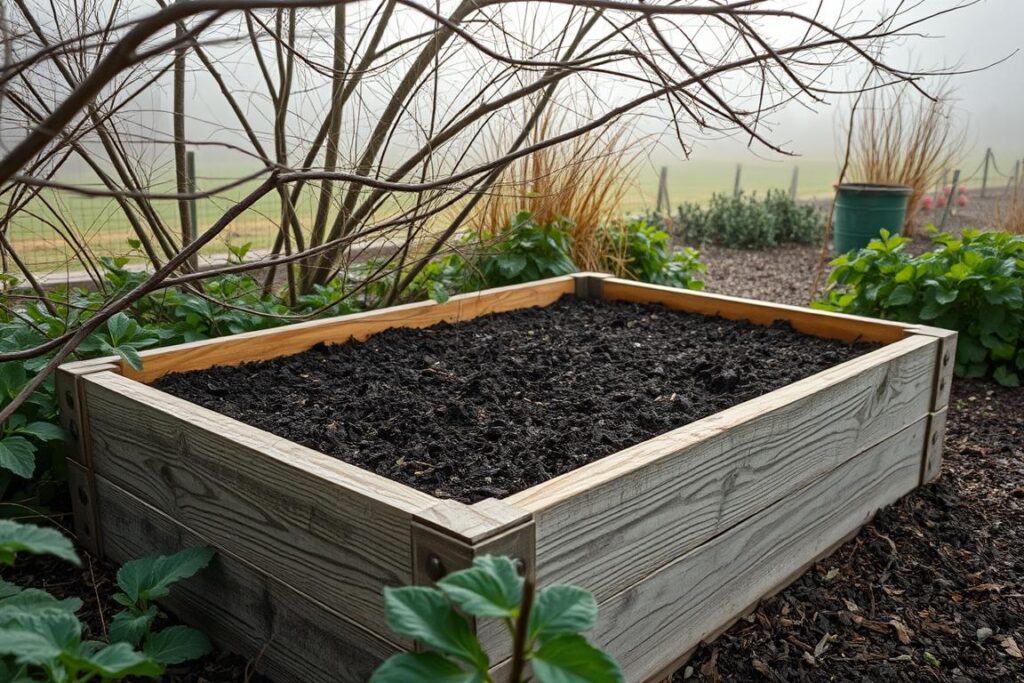
We reviewed each frame and logged what succeeded and what missed the mark this season. We noted which squares produced well and which needed new rotation plans for next year.
Reflect and clean. We pulled all weeds and removed suspect roots and any diseased material. That cut pest harborage and gave us a clean start.
Mulch smart. We top-dressed with compost and covered raised beds with straw, deliberately avoiding wood mulch inside the frames to keep soil airy.
We sowed light cover crops like clover or winter rye where we wanted living roots. We checked drainage and fixed low spots so water won’t pool against box sides.
- Inspect hardware and tighten corners to survive freeze-thaw.
- Avoid piling mulch against walls to limit rot and vole damage during beds winter conditions.
- Map crop rotation across garden beds so heavy feeders move and spring planting is faster.
Raised beds warm earlier in spring, so our notes and flagged boxes let us plant sooner and get a head start on the season.
Preparing Garden Beds for Winter: Step-by-Step Protection for Trees, Shrubs, and Roses
We chose simple defenses—wraps, burlap screens, and mulch mounds—to shield woody plants all winter. These steps cut sunscald, rodent damage, and wind burn without heavy labor.
Timing matters: we avoided pruning late in the season because new shoots are vulnerable to cold and cause weak spring regrowth.
Trunks, screens, and wind buffers
We wrapped young fruit tree trunks with breathable tree wrap to deter mice and reduce sunscald on bright days.
Where wind or drifting snow was a threat, we erected simple fencing and stuffed gaps with straw or leaves to act as a buffer.
Roses and climbing canes
After the first frost, we mulched roses, mounding soil or straw above the graft to insulate crowns.
Long climbing canes were gently laid down and covered with pine boughs or mulch to prevent whipping and breakage.
Small trees, stakes, and planting prep
We staked new plantings and tied them so roots did not rock during freeze-thaw cycles.
For live Christmas trees, we pre-dug holes and stored the removed soil where it would stay workable for quick planting.
| Task | Material | When | Benefit |
|---|---|---|---|
| Trunk wrapping | Breathable tree wrap | Late fall | Prevents sunscald and rodent damage |
| Shelter fencing | Burlap + straw/leaves | Before heavy snow | Buffers wind and snow load |
| Rose mound | Straw or soil mulch | After first frost | Insulates crown and roots |
| Canes & boughs | Pine boughs or mulch | Before storms | Protects canes from breakage |
- We walked the yard after storms to re-secure any loose wraps or covers.
- All protection stayed breathable so moisture didn’t trap against bark during warm spells.
Water, Tools, and Yard Maintenance Before Snow and Frost
To protect plumbing and gear, we finished seasonal maintenance before snow arrived. These simple steps saved us time and headaches come spring.
Turn off irrigation, blow out lines, and disconnect hoses
We shut off water at the interior valve, opened exterior spigots, and, in cold zones, used an air compressor to blow out irrigation lines. This prevented burst pipes and hidden damage.
Drain, coil, and store hoses; protect spigots
All hoses were drained, coiled, and stored in a dry shed. We added insulated spigot covers to outdoor taps in the coldest areas to stop freezing.
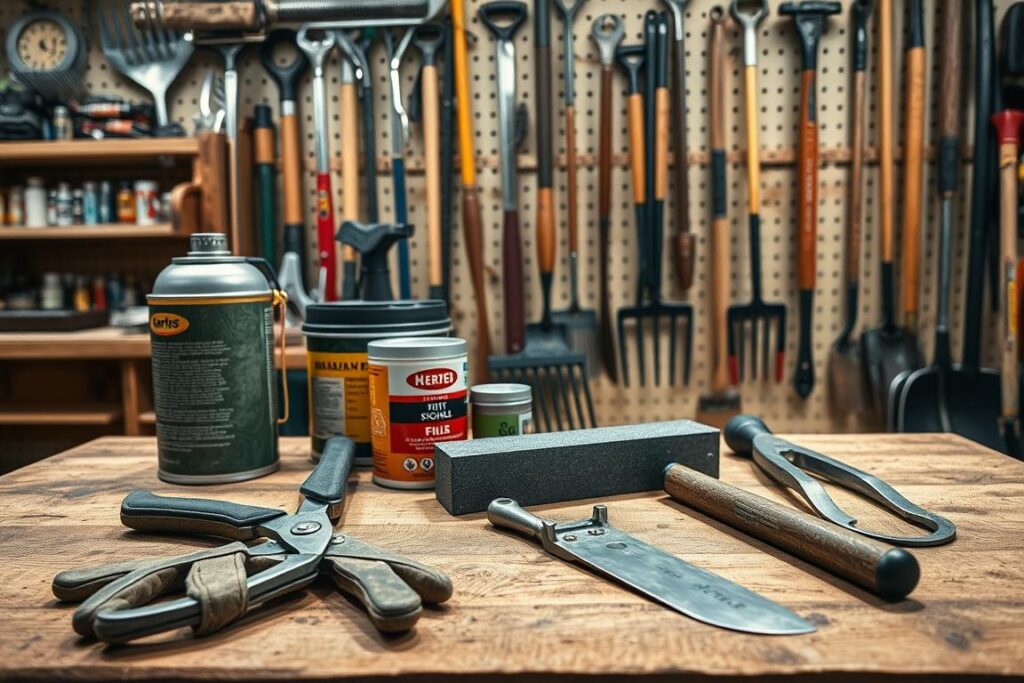
Scrub, sharpen, and oil tools to prevent rust
We cleaned soil off shovels, hoes, and pruners, sharpened blades, and oiled metal parts. Vegetable oil works in a pinch on pivot points.
Pro tip: Disassemble pruners to oil springs and pivots so they open smoothly in spring.
Manage fall leaves, compost, and fuel
We shredded leaves to mulch beds and started a leaf‑mold bin for richer soil structure next year. Heavy layers were raked off the yard to avoid matting under snow.
We covered the compost pile with straw or plastic to keep nutrients from leaching and stabilized or drained fuel from mowers per manuals.
- Hang small fittings and hose ends in a labeled bucket for easy spring access.
- Jot quick tips about tool repairs, blades to replace, and which items need pro sharpening.
Bed Cover Strategies: Smother Weeds Now, Plant Faster in Spring
We used simple sheet covers to shut down winter weeds and give spring planting a head start.
Use cardboard or black plastic to suppress weeds and protect soil
Cardboard breaks down and feeds the ground. It blocks light and stops many weed seeds from sprouting.
Black plastic kills existing weeds and warms the soil earlier. We weighed edges with stones so wind never lifted the cover.
When and how to cover raised beds—and cautions about hydrophobic soil
We covered select raised beds for extra protection but watched for hydrophobic soil. If a bed dried out, we pre‑wet the topsoil when we removed the cover.
Tip: Disconnect wicking tubes and reservoirs so water can’t stagnate under covers. Avoid covering plots with crowns that need air.
- Sheet‑mulched with cardboard or black plastic in fall to smother weeds.
- Left covers until just before sowing seeds and labeled early‑plant plots.
- Used breathable fabrics where moisture exchange mattered and tight plastic where heavy suppression was the goal.
| Cover Type | Best Use | Watch For | When to Remove |
|---|---|---|---|
| Cardboard | Long‑term smother, soil building | Slow break down in dry sites | Late winter before sowing seeds |
| Black plastic | Weed kill, early soil warm-up | Can seal moisture; pre‑wet if dry | Pull on a mild day before planting |
| Fitted raised covers | Protects frames from snow and wind | Hydrophobic soil; check reservoirs | Remove by late winter for early beds |
| Breathable fabric | Light suppression with moisture flow | Less heat gain than plastic | Keep until soil firms for planting |
Conclusion
A compact winter checklist saved us hours and kept our soil ready to wake.
We closed the season with a clear sequence: clear debris, add compost, apply a light mulch, protect plants, then shut down water and tools.
Where possible we sowed cover crops like winter rye to lock in nutrients and boost spring biomass. In raised beds we avoided wood chips inside boxes and kept mulch thin to prevent compaction.
Harvest tender crops early, shelter semi‑hardy varieties, and leave hardy greens to sweeten after frost. Check stored bulbs and re-tie wraps after any heavy snow.
Quick tip: a few focused hours now saves weeks next spring—our garden beds will wake healthy and ready to grow.
FAQ
Q: When should we start winter prepping our raised beds and how do first frost dates affect timing?
A: We begin planning in early fall. Check your USDA hardiness zone and local last-frost/first-frost dates, and watch soil temperatures — once nights consistently dip near freezing, we finish heavy cleanup, add compost, and mulch. That timing helps protect roots and ensures cover crops or bulbs establish before deep freeze.
Q: What should we remove versus leave in the beds after the growing season?
A: We pull spent annuals, diseased foliage, and tender crops that rot in cold, while leaving healthy perennial stems and seedheads that feed birds. Diseased material gets discarded, not composted, to reduce pests and pathogens. For plants with solid root systems we may cut back but leave crowns intact until spring.
Q: Should we chop-and-drop plant residue or compost it off-site?
A: We use chop-and-drop for healthy, non-seeded green matter to return nutrients and organic matter in place. For diseased plants, invasive weeds, or anything with seeds, we remove and compost separately or discard. Composting on-site works if your pile reaches high enough temperatures to kill pathogens and seeds.
Q: How much compost and mulch do we add before the ground freezes?
A: We spread about 2 inches of well-rotted compost or manure across beds, then top with 3–6 inches of mulch — leaves, straw, or wood chips. Keep mulch away from plant crowns and stem bases to prevent rot and vole habitat.
Q: Are cover crops necessary and which ones do we prefer for winter protection?
A: Cover crops aren’t mandatory but they pay off. We sow winter rye, clover, or a cereal-rye mix in fall to prevent erosion, suppress weeds, and build soil organic matter. Rye is great for biomass; clover adds nitrogen. Terminate them in spring before they set seed.
Q: Which vegetables should we harvest versus protect as temperatures drop?
A: We harvest tender crops — tomatoes, beans, summer squash, and peppers — before frost. Semi-hardy vegetables like lettuce and brassicas do well under row covers or cold frames for light frosts. Hardy greens such as kale, collards, and spinach often improve after chill.
Q: What’s our approach to garlic and root crops in fall?
A: We plant garlic and some overwintering onions in fall so roots establish before freeze. For carrots, beets, and parsnips, we mulch heavily and leave in ground where winters are mild; otherwise we lift and store them in cool, moist conditions to prevent freezing and shriveling.
Q: How do we treat perennials and bulbous flowers at season’s end?
A: We cut back disease-prone perennials like bee balm and phlox to reduce overwinter disease. We leave seedheads such as coneflowers and rudbeckia for birds. Mulch perennials 3–6 inches with leaves or straw, avoiding burying crowns. Tender bulbs — dahlias, cannas, gladiolus — get lifted, dried, and stored in a cool, dark spot.
Q: What special care do raised beds need going into winter?
A: We ensure good drainage, clear out roots and weeds, and plan crop rotation. We prefer sowing cover crops and using straw mulch in raised beds rather than fresh wood chips, which can tie up nitrogen. In cold climates, we may remove soil to a protected area if beds are shallow and at risk of frost heave.
Q: Should we prune trees, shrubs, and roses before winter?
A: We avoid major pruning in late fall because cuts can stimulate tender regrowth or invite disease. For roses, we wait until after the first hard frost to mulch and secure canes. Minor deadwood removal is okay, but structural pruning is best done in late winter or early spring.
Q: How do we protect young trees and shrubs from winter damage?
A: We wrap trunks with tree wrap to prevent sunscald and rodent damage, and use burlap windbreaks or fencing stuffed with straw for vulnerable shrubs. Mulching the root zone helps insulate, and staking or burlap can shield young specimens from heavy snow and wind.
Q: What water and tool maintenance tasks should we do before freezing weather?
A: We shut off irrigation, blow out sprinkler lines in freezing regions, and disconnect and drain hoses. We clean, sharpen, and oil hand tools and store them dry to prevent rust. These steps keep equipment ready and extend tool life.
Q: How should we manage fall leaves around beds and compost piles?
A: We mulch leaves with a mower to spread as light mulch, add them to a leaf-mold pile, or mix into compost. If using them in beds, we apply them as part of a layered mulch and avoid dense mats that repel water. Covering compost with straw helps maintain heat and moisture.
Q: Are cardboard or plastic covers a good idea to smother weeds over winter?
A: We use cardboard or black plastic selectively. Cardboard suppresses weeds and adds carbon as it breaks down; it’s great under mulch. Black plastic warms soil but can create hydrophobic conditions and harm soil life, so we use it sparingly and remove it before planting.
Q: How do we prevent vole and rodent damage under winter mulch?
A: We avoid piling mulch directly against stems and trunks and keep it shallower near crowns. Using coarse mulch like wood chips instead of fine straw near trunks reduces nesting. Trap or deter rodents humanely if activity is heavy, and remove hiding spots like brush piles near beds.
Q: When and how do we terminate cover crops in spring to prepare beds for planting?
A: We terminate cover crops just before they set seed, usually in early spring. For rye, we mow or cut it down and either till it in or lay it as a mulch. If we want fast planting, we use a garden fork to cut roots and let residues decompose for a few weeks before transplanting.