
Imagine plucking crisp, vibrant greens from your own home while snow blankets the ground outside. Peter Burke’s groundbreaking book reveals how anyone can transform everyday spaces into mini-farms using simple methods. His approach requires no fancy equipment – just sunlight, soil, and a dash of creativity.
The author developed this system after growing frustrated with short growing seasons and complex setups. Instead of relying on grow lights or greenhouses, you’ll learn to harness natural light through windowsills and clever container placement. This method isn’t just for experts – it’s designed for busy people craving fresh flavors without the hassle.
You’ll discover how soil sprouting techniques let you harvest tender leaves in under two weeks. Unlike store-bought options that lose nutrients in transit, your homegrown greens pack maximum flavor and vitamins. Best of all, this system adapts to apartments, small kitchens, or even dorm rooms – proving space limitations can’t stop fresh food production.
Key Takeaways
- Grow nutrient-rich greens using basic household items
- Save money by reducing grocery store purchases
- Harvest fresh produce in 7-10 days with minimal effort
- Skip expensive equipment like artificial lights
- Perfect for all skill levels and living spaces
- Enjoy homegrown flavors even during cold months
Understanding Indoor Salad Gardening
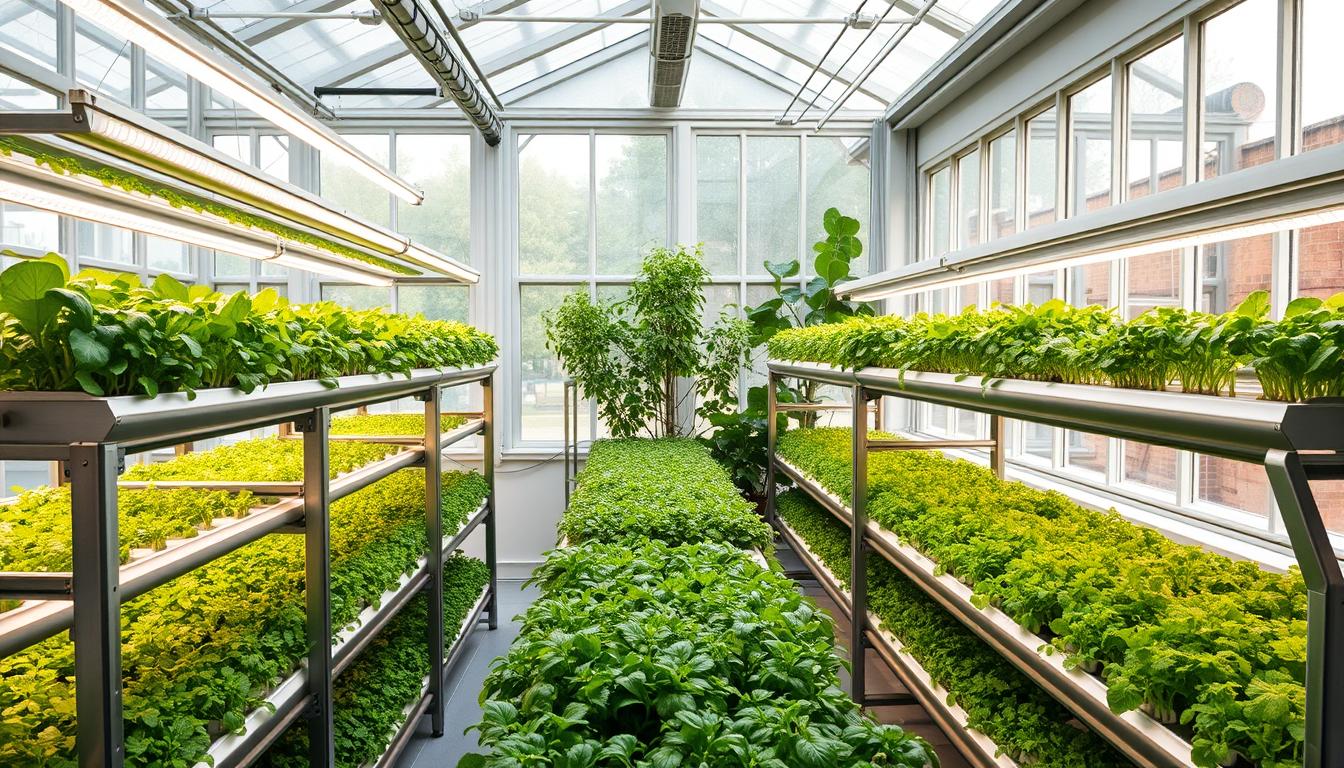
Transform your kitchen into a fresh produce aisle that never closes. Peter Burke’s soil sprout technique flips traditional plant care on its head. Instead of waiting weeks for greens, you’ll harvest vibrant leaves in just 7-10 days using simple materials you already own.
These nutrient-packed sprouts grow in ordinary containers filled with soil, not jars. The magic happens during a crucial dark period that kickstarts growth. Seeds contain all the energy needed to push through soil – your job is just to keep them moist and watch them soar.
This approach works anywhere with natural light. No grow lights or complex setups required. You control moisture levels and temperature, creating ideal conditions faster than outdoor plots can offer. Fresh flavors become available year-round, even when frost covers the ground.
Burke’s method proves that delicious greens don’t need perfect weather or expensive tools. Just quality seeds, basic containers, and a sunny windowsill. The result? Continuous harvests that make store-bought greens taste bland in comparison.
Essential Supplies for Indoor Salad Gardening
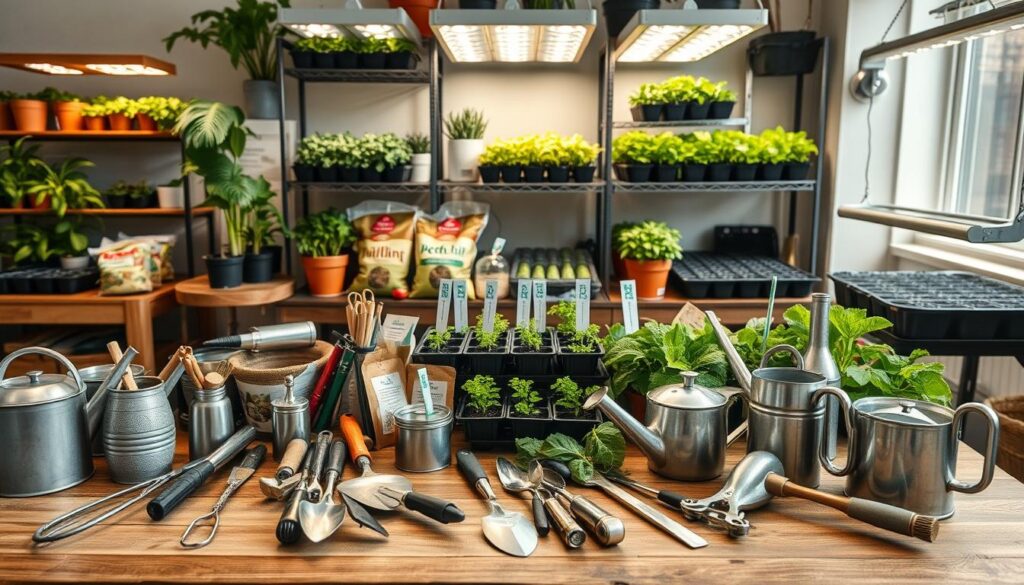
Stocking your home farm requires just six accessible items – all easily found at local stores or online shops. These basics work together to create perfect growing conditions while keeping costs low. Let’s break down what you’ll need and why each component matters.
Growing Medium Essentials
Start with a lightweight soil mix designed for seedlings. Look for blends containing peat moss, vermiculite, and perlite – these create air pockets for tender roots. Avoid heavy garden soil that suffocates sprouts.
Mix in quality compost to feed your plants naturally. Store-bought options work perfectly for beginners and often cost less than $10 per bag. A sprinkle of kelp meal adds vital minerals without harsh chemicals.
Creative Planting Solutions
Choose seeds that sprout quickly and taste great raw. Sunflower, pea shoots, and broccoli greens offer bold flavors and colorful leaves. You’ll find these varieties at most garden centers or through online seed shops.
Reuse household containers instead of buying expensive pots. Mini loaf pans work well, but plastic food storage boxes make excellent alternatives. Line them with damp newspaper to lock in moisture during those critical first days.
One gardener spent just $55.45 on supplies at their local hardware store and supermarket. Best part? Most items last through multiple harvests, making each subsequent batch cheaper than store-bought greens.
Peter Burke's Innovative Approach to Indoor Growing

Forget complicated setups—Burke’s genius lies in using what’s already in your cupboards. The author crafted his method after hitting a wall with seasonal limitations. “Why should fresh flavors stop when temperatures drop?” he wondered, sparking a revolution in home food production.
Traditional systems demanded perfect conditions. Burke’s book flips that script. His approach thrives on ordinary windowsills and repurposed containers. No special lights. No greenhouse investments. Just smart use of existing resources—exactly what time-crunched families need.
| Traditional Indoor Growing | Burke’s Method |
|---|---|
| Requires grow lights ($100+) | Uses natural light only |
| Needs temperature controls | Works with room temps |
| South-facing windows mandatory | Any light exposure works |
| Weekly maintenance hours | 5 minutes daily care |
This gardener’s secret? Focus on what plants truly need. By eliminating unnecessary steps, he created a system that fits around work schedules and family time. The result? Crisp greens at 1/4 the store price, ready in under two weeks.
Burke’s book proves innovation doesn’t mean complexity. His tested techniques use cereal bowls, takeout containers, and basic soil mixes. It’s not just growing—it’s reclaiming food independence the simple way.
Preparing a Soil Mix for Indoor Salad Gardening
Your greens’ success starts beneath the surface. Unlike outdoor plots, container-grown sprouts need airy blends that mimic forest floors rather than dense garden beds. Burke emphasizes this critical difference: “Using backyard soil is like serving concrete to seedlings – they simply can’t thrive.”
Key Components and Their Benefits
The magic formula combines four power players. Peat moss acts like a sponge, holding 20x its weight in water. Vermiculite creates breathing room for roots, while perlite stops soggy conditions. A dash of lime keeps pH balanced – crucial for nutrient absorption.
| Homemade Mix | Commercial Mix |
|---|---|
| Full customization | Consistent results |
| Lower long-term cost | Beginner-friendly |
| Requires storage space | Ready to use |
DIY Soil Mix Guidelines
Mix 2 parts peat moss with 1 part vermiculite and 1 part perlite. Add 1 tablespoon lime per gallon to neutralize acidity. For boosted nutrition, stir in ½ cup compost or kelp meal. Test your blend by squeezing – it should hold shape then crumble easily.
Pre-mixed options work beautifully if you’re short on time. Look for “seed starter” blends at garden centers. Either way, store unused mix in sealed containers to maintain freshness for future planting cycles.
Choosing the Right Seeds and Fertilizers
The secret to vibrant homegrown greens lies in your seed choices. Burke’s top five picks – sunflower, pea, radish, buckwheat, and broccoli – create a confetti of flavors and textures. These varieties sprout quickly and thrive in simple setups, turning windowsills into miniature farms.
Sunflower seeds deliver satisfying crunch within days, while pea shoots add grassy sweetness. For peppery zing, broccoli microgreens pack more nutrients than mature heads. Always check buckwheat labels – only unhulled kernels sprout successfully. Processed versions from bulk bins won’t grow.
Mung beans offer high yields but need careful moisture control. One urban grower saved 40% using pre-mixed sprouting blends instead of individual packets. “Combination packs ensure balanced harvests,” they noted, “with flavors that complement each other perfectly.”
Boost soil nutrition naturally with kelp meal – a mineral-rich alternative to synthetic fertilizers. Though seeds cost more upfront, quality varieties prevent wasted efforts. Organic food stores often carry affordable options that germinate reliably for multiple planting cycles.
Setting Up Your Indoor Growing Space
Your homegrown greens’ success starts with smart space planning. Containers and placement work together to create a thriving microclimate – even in tight quarters. Let’s explore practical solutions that balance efficiency with everyday living.
Container Showdown: Aluminum vs Alternatives
Traditional aluminum pans (3″x6″) offer affordability but come with quirks. Users report leaks during the crucial 4-day sprouting phase and bent edges that snag fabrics. One grower noted: “After three cycles, my pans looked like abstract art – beautiful greens, messy setup.”
Consider these upgrades:
- Window planter boxes hold 9x more sprouts than single pans
- Plastic trays resist corrosion and weigh 40% less
- Ceramic dishes prevent tipping in active households
Moisture Mastery: Fabric Wins
While Burke uses newspaper stacks, many prefer reusable cotton. A clever experimenter created 4-layer fabric squares (4″x7″) that:
- Prevent ink transfer to sprouts
- Wash easily for repeated use
- Maintain 72% better moisture than paper
Place your setup near windows but not touching cold glass. East-facing sills capture gentle morning light, while southern exposures need sheer curtains to prevent scorching. Remember – your greens want indirect brightness, not a tanning bed!
Step-by-Step How-To Guide for Indoor Salad Gardening
Turn your windowsill into a fresh food factory with these simple steps. The process unfolds in four stages that work with any schedule, transforming basic supplies into crunchy greens faster than traditional methods.
Seed Soaking, Planting, and Incubation
Start by soaking seeds overnight in lukewarm water. This softens their shells for quicker sprouting. Spread them evenly over moist soil in your container – no need to bury them deep. Cover with a damp cloth for 3 days, creating a cozy dark space that mimics natural ground conditions.
Remove the cover once tiny sprouts appear. Move containers to indirect light, rotating them daily for even growth. This critical phase builds strong stems while preventing leggy plants.
Daily Care, Watering, and Monitoring Growth
Mist soil lightly each morning using a spray bottle. Check moisture by pressing a finger into the mix – it should feel like a wrung-out sponge. If leaves droop, they’re thirsty! Trim the top third of stems when greens reach 3-4 inches, typically within 7-10 days.
Harvest in the morning for peak crispness. Store cuttings in airtight bags, then replant seeds immediately for endless batches. With this rhythm, you’ll always have ready-to-eat sprouts without grocery runs.
FAQ
What makes indoor salad gardening different from traditional outdoor methods?
Growing greens indoors skips seasonal limits and pests. You control light, water, and temperature, allowing fresh harvests even in winter. Compact setups like trays or window sills work perfectly for small spaces.
Why is kelp meal recommended for the soil mix?
Kelp meal adds trace minerals and natural growth hormones. It boosts nutrient density in greens like sunflower shoots or pea sprouts, helping them thrive without synthetic fertilizers.
Can I reuse household items instead of buying containers?
Absolutely! Old baking pans, takeout trays, or aluminum foil boxes make great eco-friendly options. Line them with newspaper or fabric to manage moisture and prevent leaks.
How does Peter Burke’s approach simplify growing indoors?
His method focuses on low-cost, low-effort techniques. By using shallow soil layers and quick-growing seeds like buckwheat or broccoli, you get fast results—often in just 7–10 days.
Do I need special seeds, or can I use store-bought ones?
Opt for organic, untreated seeds labeled for sprouting or microgreens. Store-bought varieties may have chemicals that hinder germination or flavor.
What’s the best spot in my home for a setup?
A sunny south-facing window sill is ideal. If natural light is limited, affordable LED grow lights can supplement without raising your energy bill.
How often should I water my indoor garden?
Mist trays lightly twice daily to keep soil damp but not soggy. Overwatering can drown roots or cause mold—consistency is key for crisp, healthy greens.
Can I grow vegetables like broccoli or kale indoors?
Yes! These nutrient-packed greens grow well as microgreens. Harvest them young for tender leaves packed with vitamins, perfect for salads or smoothies.