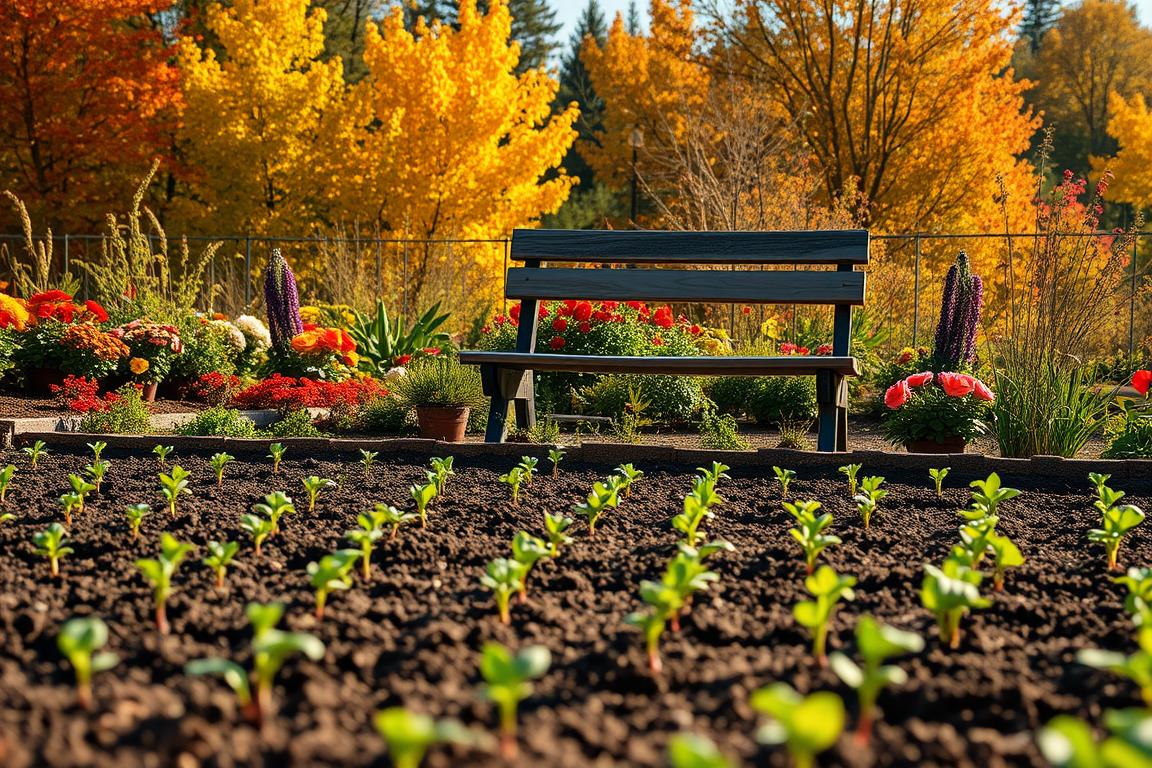


Having the right plants is key, but it’s not enough. A great garden needs a lot of prep and upkeep to flourish. Before you start planting in spring, follow 8 important steps to get your garden ready. These include organizing your tools, clearing out weeds, planning your garden, preparing the soil, and more.
By taking these steps, you’ll make sure your garden does well once it’s time to grow. It’s all about setting the stage for a successful season.
Key Takeaways
- Proper garden preparation is essential for a successful spring growing season.
- Gather necessary gardening tools and supplies before the season starts.
- Remove weeds, debris, and old mulch to make way for new growth.
- Carefully plan your spring garden layout and planting schedule.
- Improve soil health by tilling, amending, and preparing garden beds.
Prepare Your Garden Tools and Supplies
Spring is coming, and it’s the best time to get our garden tools and supplies ready. Getting everything prepared now will make gardening easier and more efficient.
Essential Gardening Tools
Having the right tools is key for a great spring garden. We need a strong trowel for planting and weeding, a cultivator for soil aeration, and sharp pruners for trimming. A good garden hose and watering can keep plants moist. A garden fork and shovel are great for soil turning and making raised beds.
It’s important to keep our tools in good shape. Sharpen blades, oil hinges, and replace any broken parts. Well-cared-for tools make gardening easier and help stop plant diseases.
| Tool | Purpose |
|---|---|
| Trowel | Planting and weeding |
| Cultivator | Aerating the soil |
| Pruners | Trimming and shaping plants |
| Garden Hose | Watering |
| Watering Can | Watering |
| Garden Fork | Turning the soil |
| Shovel | Creating raised beds |
With our tools ready and supplies stocked, we’re set for spring gardening. We can start with seed selection, planting, and more.
Clear Out Weeds, Debris, and Mulch
As spring comes, it’s time to get our gardens ready for growth. We must clear out weeds, debris, and old mulch before planting. This step is crucial for a successful garden.
Weeds need to be removed to stop them from competing with our plants. It’s important to remove the entire weed, including the roots, to prevent regrowth.
- Use a hoe or hand tools to carefully dig out and remove all visible weeds.
- Be sure to get the roots, as even small fragments can sprout new growth.
- Dispose of the weeds properly, either by composting them or sending them to the landfill.
Then, we’ll clear away dead organic matter like leaves, twigs, and debris from last year. This makes room for new plants to grow.
| Task | Importance |
|---|---|
| Remove debris | Clears the way for new growth and prevents disease and pest issues. |
| Compost organic matter | Recycles nutrients back into the soil, improving soil health. |
| Apply fresh mulch | Helps retain moisture, suppress weeds, and insulate plant roots. |
We also need to check the mulch. Old, well-composted mulch can be added to the soil for nutrients. But, we should remove any fresh mulch to let new plants grow.
By clearing out weeds, debris, and managing the mulch, we’re preparing for a great spring garden. A clean, weed-free garden gives our plants a strong start.
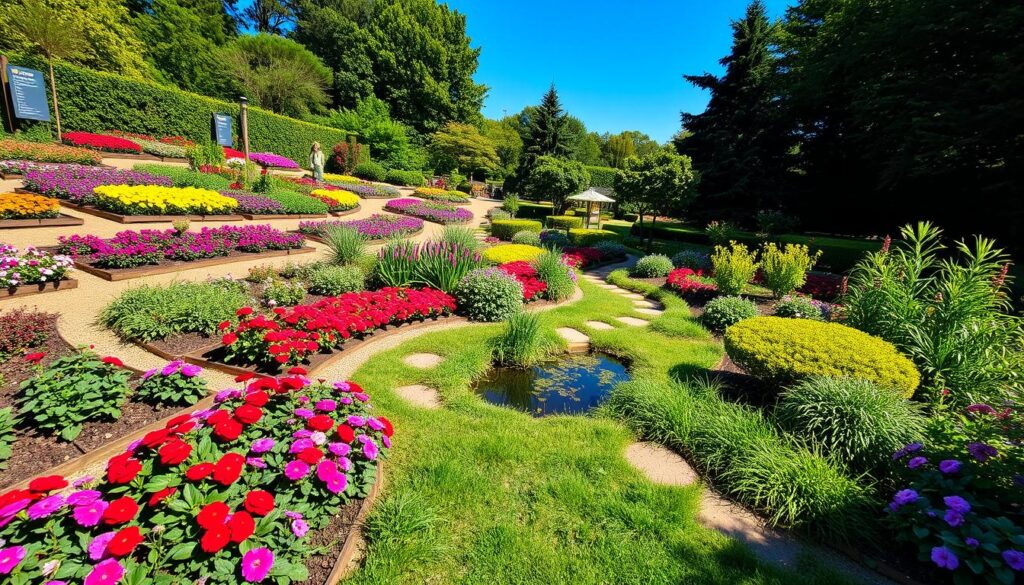
Planning Your Spring Garden
Garden Planning Tips
Spring is here, and it’s the best time to plan your garden. A strategic plan can make your garden lush and full of life. Start by learning about your local growing zone and climate. This will tell you which plants will grow well and when to plant them.
Then, make a planting calendar with important dates. Note when to start seeds indoors, when to plant them outside, and when to move seedlings. This keeps you organized and makes sure your plants are planted at the best time. Grouping plants with similar needs helps manage pests and diseases naturally.
Don’t forget about heirloom varieties when choosing plants. These plants add beauty to your garden and bring unique flavors. A mix of different plants makes your garden vibrant and fun to care for.
| Garden Planning Checklist |
|---|
|
“A well-planned garden is the first step to a bountiful harvest. Take the time to prepare and you’ll be rewarded with a thriving, beautiful space.”
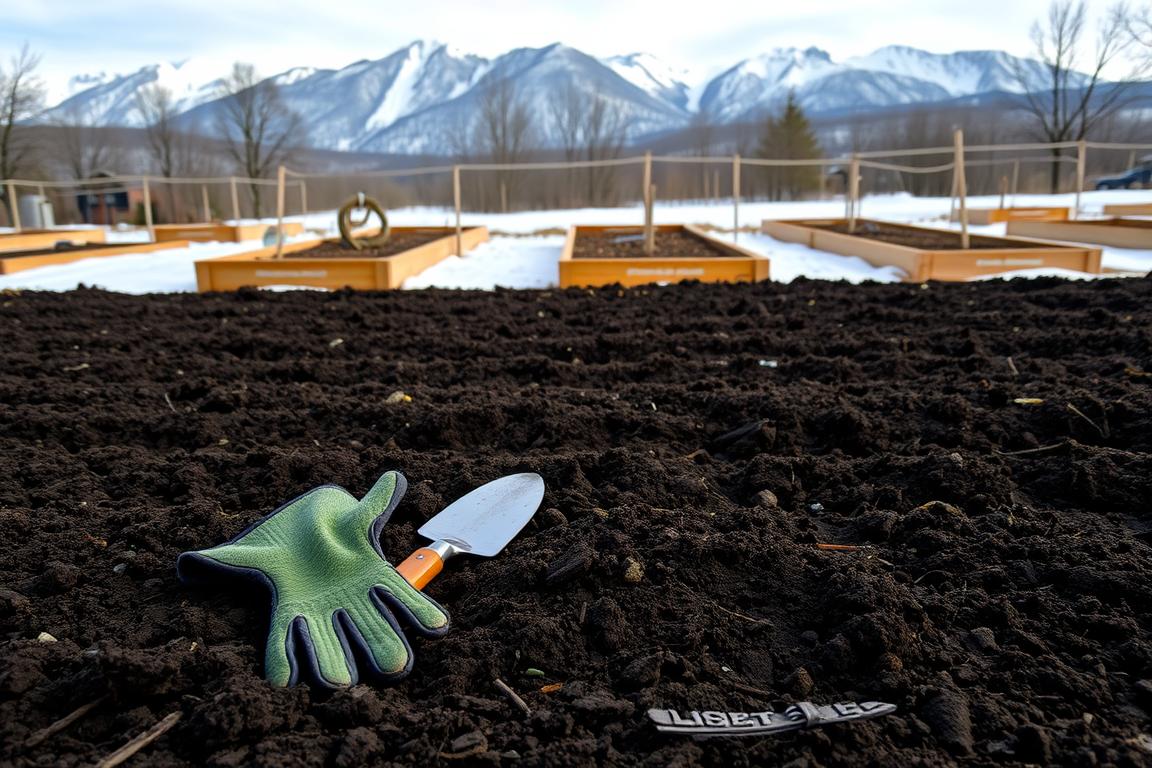
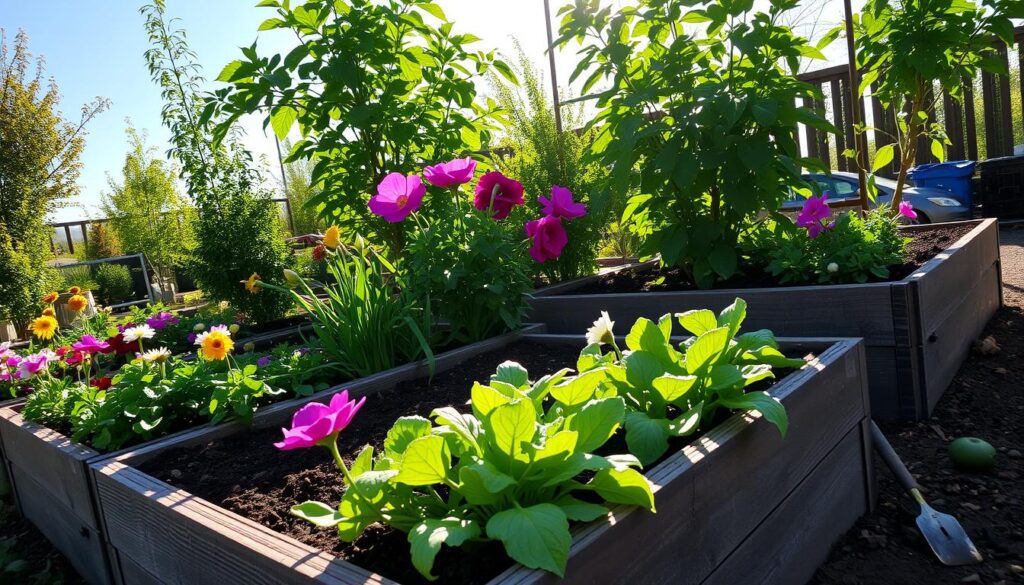
Prepare the Soil
As the threat of frost subsides, it’s time to get our hands dirty. We need to prepare the garden beds for the growing season. Proper soil preparation is key for a thriving spring garden. Let’s make sure our plants get off to a great start.
First, we’ll loosen the soil by tilling or turning it over to a depth of 12-14 inches. This makes it easier for water and nutrients to reach the roots of our plants. Then, we’ll mix in well-decomposed compost or leaf litter. This adds essential organic matter to the soil.
If our garden beds have poor-quality soil, we might think about building raised beds. Adding more compost can also help. Before adding anything, it’s smart to do a soil test. This tells us the pH and nutrient levels. It helps us choose the right fertilizers or soil amendments.
After preparing the soil, we’ll rake it level and water it lightly. This makes sure the surface is even for planting. Taking these steps gives our plants a strong foundation for growth and a jump start on the season.
“The key to a thriving garden is in the soil. By preparing it properly, we’re setting our plants up for success.”
With our soil ready, we can move on to the next step in our spring garden preparation: dividing and transplanting perennials. Stay tuned for our next section to learn more!
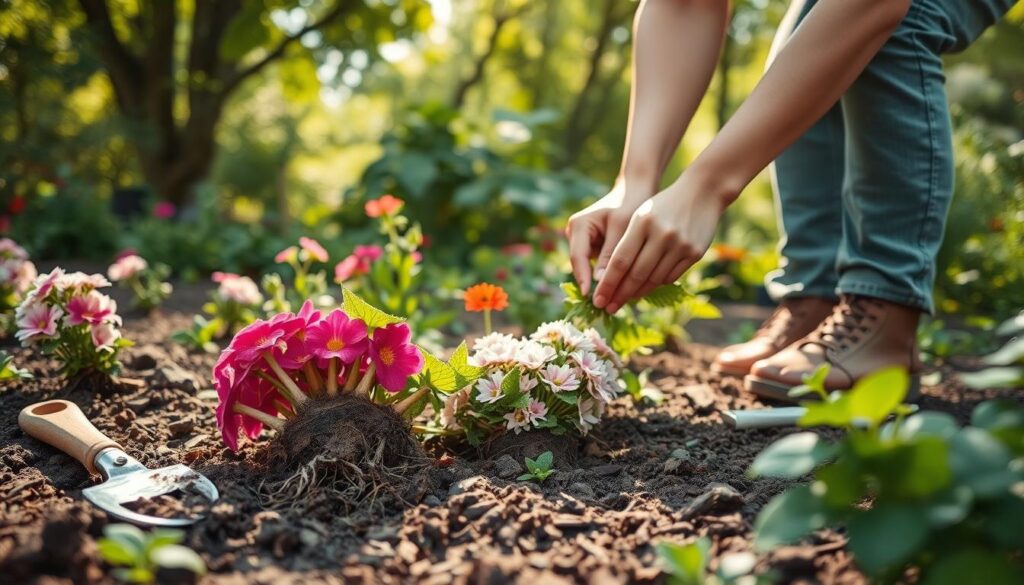
Divide and Transplant Perennials
Spring is the best time to work on our perennial plants. Many perennials do well when divided early in spring, before they start growing new leaves. Dividing them helps prevent overcrowding, makes them healthier, and lets us grow our gardens easily.
Start by digging up the whole root clump of the plant you want to divide. Then, use your hands or a sharp knife to split it into smaller pieces. Make sure each piece has a good root system and at least one bud. Try to get divisions with 4-6 strong shoots for the best outcome. Put the divided pieces back in the ground, leaving enough space for them to grow.
- Common perennials that often need dividing include daylilies, Shasta daisies, and hostas.
- Dividing perennials is a great way to spread your plants and share them with others.
- Make sure to water the new plants well after moving them to help them settle.
For the best results, divide and move perennials in early spring, about 4-6 weeks before the ground freezes in colder areas. This lets the roots get ready before summer heat or winter cold hits. With a bit of care, your divided perennials will give you lots of flowers for many years.
“Dividing perennials is one of the most rewarding tasks in the garden. It’s a great way to revitalize your plants and share the bounty with others.”
Whether you’re experienced or new to gardening, learning to divide and transplant perennials is key. By following these easy steps, you’ll be on your way to a beautiful spring garden. Happy gardening!
Conclusion
As spring planting season approaches, getting our gardens ready is key. We need to sharpen our tools, clear out weeds, and plan our garden’s layout. Adding organic matter to the soil, dividing perennials, and mulching will help our plants grow strong.
It’s important to plant at the right time for your area. Using succession planting and raised beds can increase your harvest. Also, fighting pests with natural methods and choosing organic seeds and fertilizers keeps your garden healthy and green.
With some early prep and regular care, we can have a beautiful garden this spring. Following these tips will lead to a season full of colorful flowers, tasty vegetables, and a happy garden. Let’s get ready to enjoy the new season in our gardens.
FAQ
Q: What essential gardening tools do I need to prepare for spring?
A: You’ll need a trowel, cultivator, pruners, hose, watering can, garden fork, and shovel. These tools make gardening easier and more efficient.
Q: How do I clear out weeds, debris, and old mulch from my garden?
A: Start by removing dead organic matter, weeds, and old mulch. This lets the soil breathe. Make sure to get rid of all weeds to prevent them from competing with your plants.
Use well-composted mulch or organic matter to enrich the soil. But, remove fresh mulch to avoid harming new growth.
Q: What are some tips for planning my spring garden?
A: Begin by learning about your local growing zone and climate. This helps you know which crops will grow well and when to plant them.
Make a calendar for planting, including when to start seeds indoors and when to transplant. Group plants with similar needs together. Use companion planting and crop rotation to control pests and diseases naturally.
Choosing heirloom varieties can also make your garden more interesting and flavorful.
Q: How do I prepare the soil for planting?
A: After the last frost, loosen the soil with a tiller or by turning it over to 12-14 inches deep. Add well-decomposed compost or leaf litter.
If your soil is poor, consider raised beds with compost. Test the soil to check pH and nutrient levels. Then, add fertilizers or amendments as needed.
Rake the soil flat and water it lightly to settle.
Q: When and how should I divide and transplant perennials?
A: Divide perennials in early spring, before they start growing again. This stops overcrowding and refreshes the plants.
Use your hands or a knife to separate the root clump into smaller sections. Plant these divisions far enough apart for growth. Plants like daylilies, Shasta daisies, and hostas often need dividing.