
Ever wished you could grow fresh veggies without wrestling with rocky soil or building raised beds? Let’s explore a method that turns agricultural leftovers into thriving plant havens. This approach isn’t new—it’s rooted in centuries-old practices—but it’s gaining fresh attention for solving modern challenges.
Imagine creating a portable, elevated garden that adapts to your space and needs. Whether you’re working with a concrete patio or poor-quality dirt, this technique lets you skip expensive materials. It’s perfect for urban dwellers or anyone seeking easier access to homegrown food.
Here’s the magic: As your plants grow, the bales break down, feeding them naturally. By season’s end, you’re left with nutrient-rich compost to enrich other growing areas. It’s a win-win for your garden and the planet.
Key Takeaways
- Transforms simple materials into productive growing spaces
- Solves challenges like poor soil and limited mobility
- Eliminates need for traditional garden beds or soil upgrades
- Recycles agricultural byproducts into valuable resources
- Works on concrete, uneven ground, or small urban areas
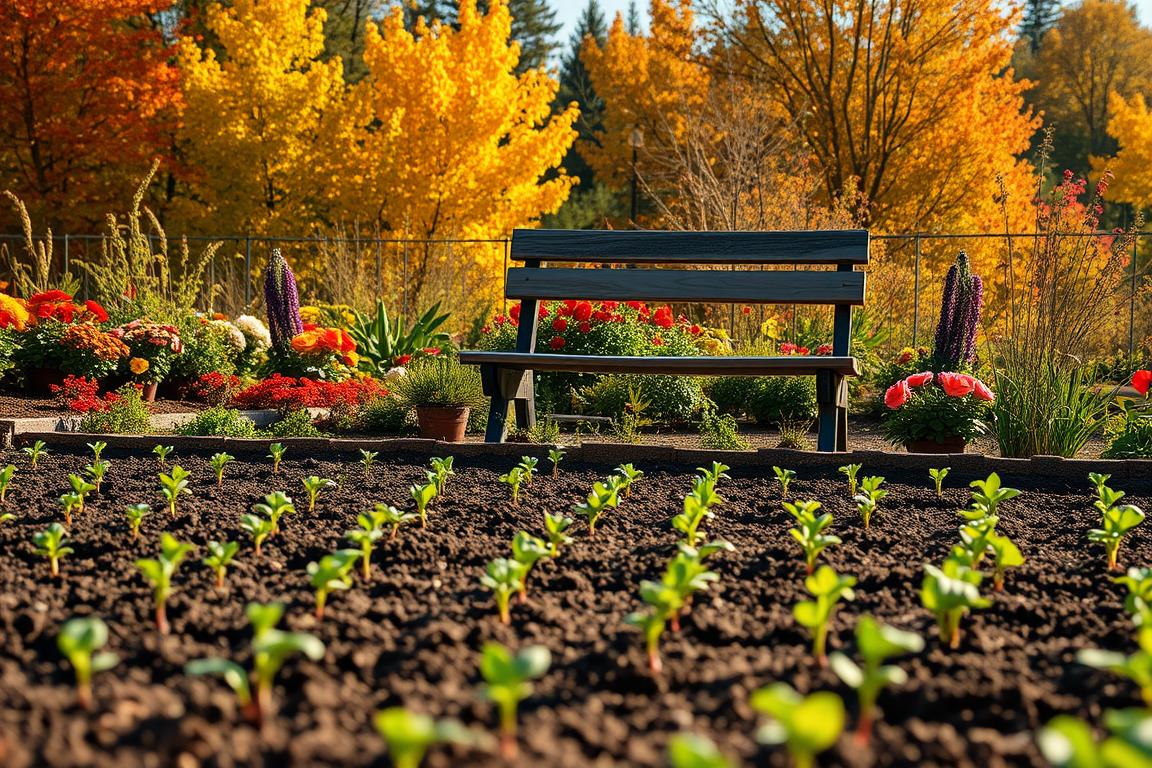
Introduction to Straw Bale Gardening
What if your garden could build itself from materials you’d normally overlook? This innovative approach transforms humble agricultural leftovers into thriving ecosystems. Let’s explore why urban growers and rural homesteaders alike are embracing this space-saving solution.
Why Choose a Sustainable Gardening Method?
Traditional systems often demand constant soil improvement and expensive infrastructure. Our method uses naturally decomposing materials as both foundation and fertilizer. One enthusiast notes: “My back problems disappeared when I stopped bending over ground-level plots.”
| Factor | Traditional Raised Bed | Alternative Method |
|---|---|---|
| Startup Cost | $200-$500 | $35-$50 |
| Setup Time | 8-12 hours | 2-3 hours |
| Soil Preparation | Annual tilling required | None after initial setup |
| Accessibility | Ground-level | Waist-high design |
Overview of Benefits Compared to Traditional Gardening
Three key advantages make this approach stand out:
- Cost efficiency: Save 80% compared to wooden raised beds
- Natural pest control: Elevated surfaces deter slugs and rodents
- Adaptability: Works on paved surfaces or slopes
The decaying core creates ideal conditions for plant roots while recycling farm byproducts. No digging means fewer weeds, and the portable design lets you rearrange plots yearly. It’s gardening simplified for modern lifestyles.
Choosing the Right Straw Bale
Did you know your garden’s success starts long before planting? The secret lies in selecting materials that become both home and food for your crops. Let’s explore how to pick the perfect base that feeds plants while keeping weeds at bay.
Understanding the Difference: Plant Byproducts
Many beginners confuse two similar-looking materials. Hay contains grass seeds that sprout unwanted plants, while the stalks left after grain harvests create a cleaner option. One local grower shared: “Switching eliminated 90% of my weeding time!”
| Feature | Hay | Alternative Option |
|---|---|---|
| Composition | Grass & flowers | Grain stalks |
| Seed Content | High | None |
| Cost per Unit | $8-$12 | $5-$7 |
| Best Use | Animal feed | Plant growth |
Tips for Sourcing Quality Organic Materials
Follow these guidelines to ensure success:
- Verify origins: Ask farmers about herbicide use from past three seasons
- Check freshness: Look for golden color and earthy smell
- Test density: Tightly bound units with 2-3 cords stay intact longer
Local agricultural co-ops often stock properly cured units. Avoid discolored or musty-smelling options—these indicate mold development. Remember, your growing medium becomes plant food, so source thoughtfully!
Conditioning and Preparing the Bale

Your future harvest depends on a 10-day biological activation process. This transformation turns agricultural materials into nutrient-rich plant food through controlled decomposition. Let’s explore how to kickstart this natural alchemy.
Step-by-Step Conditioning Process
We break the activation into three phases. The first three days focus on hydration, while days 4-9 introduce nitrogen to fuel microbial activity. Here’s your daily roadmap:
| Days | Action | Purpose |
|---|---|---|
| 1-3 | Soak until water drains | Activate decomposition |
| 4-6 | 1 cup ammonium sulfate daily | Boost bacteria growth |
| 7-9 | Half-dose fertilizer | Sustain microbes |
| 10+ | Water only | Stabilize temperature |
Monitoring Temperature and Moisture Levels
Insert your hand into the center daily. Ideal readiness occurs when:
- Internal heat matches body temperature (98°F)
- No ammonia smell remains
- Material holds shape when squeezed
Use a compost thermometer for accuracy. If readings exceed 125°F, delay planting. Consistent moisture matters most – aim for damp sponge consistency throughout the process.
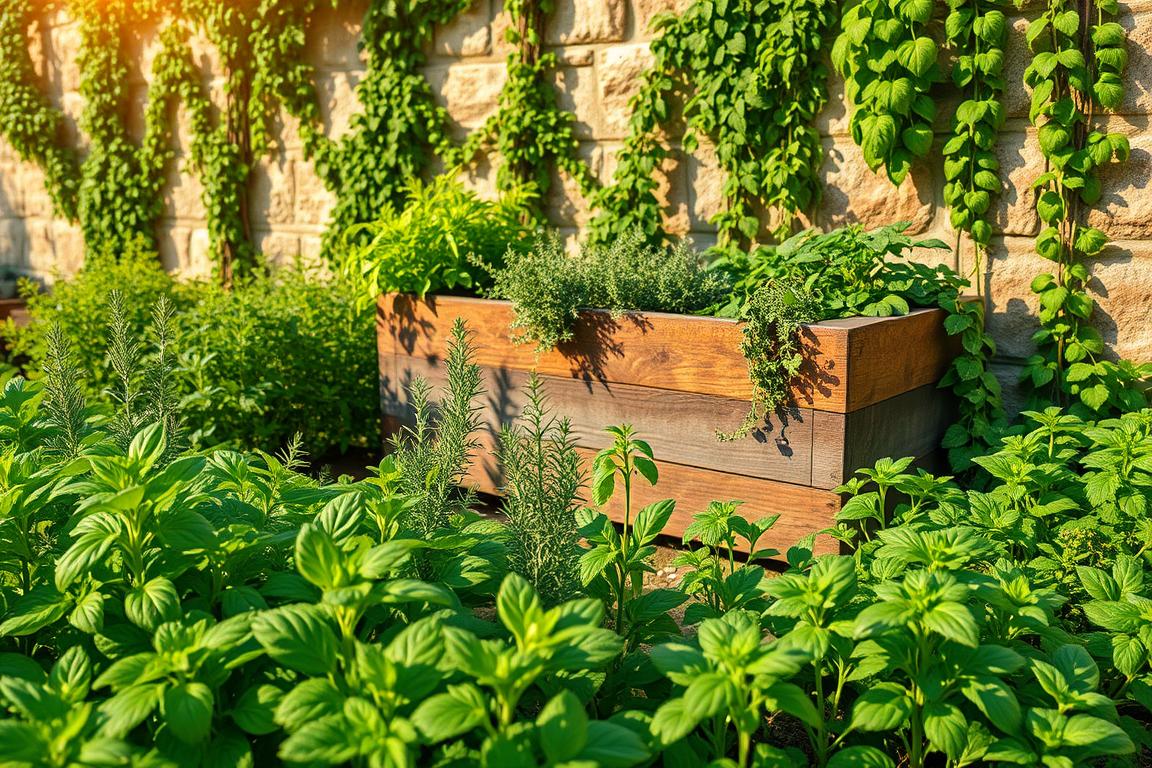
Straw Bale Gardening Essentials
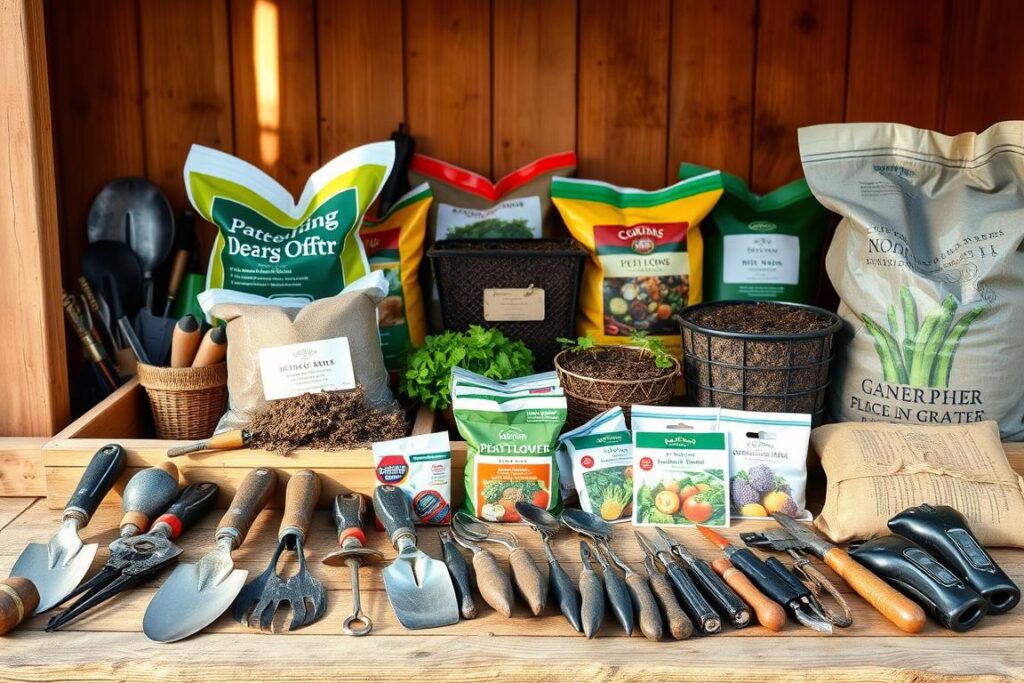
The right tools transform agricultural leftovers into lush greenery. Let’s explore what you’ll need to create a self-fertilizing system that thrives all season. Whether you’re starting seeds or maintaining mature plants, these essentials simplify the process.
Key Equipment and Supplies Needed
Gather these items before starting:
| Essential | Optional |
|---|---|
| Hand trowel | Drip irrigation kit |
| Organic fertilizer | Soil thermometer |
| Cardboard sheets | Plastic bottle reservoirs |
| Watering hose | Row covers |
Newspaper or cardboard forms a weed-blocking foundation while letting water drain. A basic hose works, but soaker systems prevent dry spots. One grower told us: “Repurposed milk jugs with holes became my perfect watering tools.”
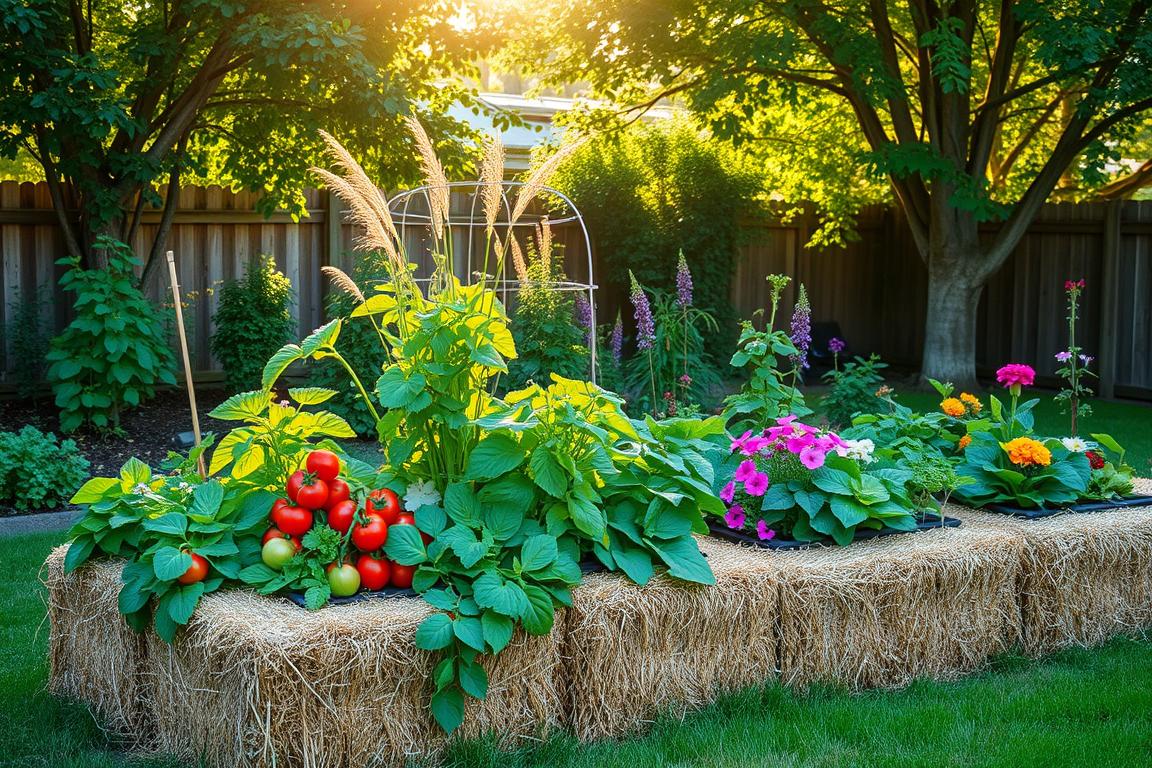
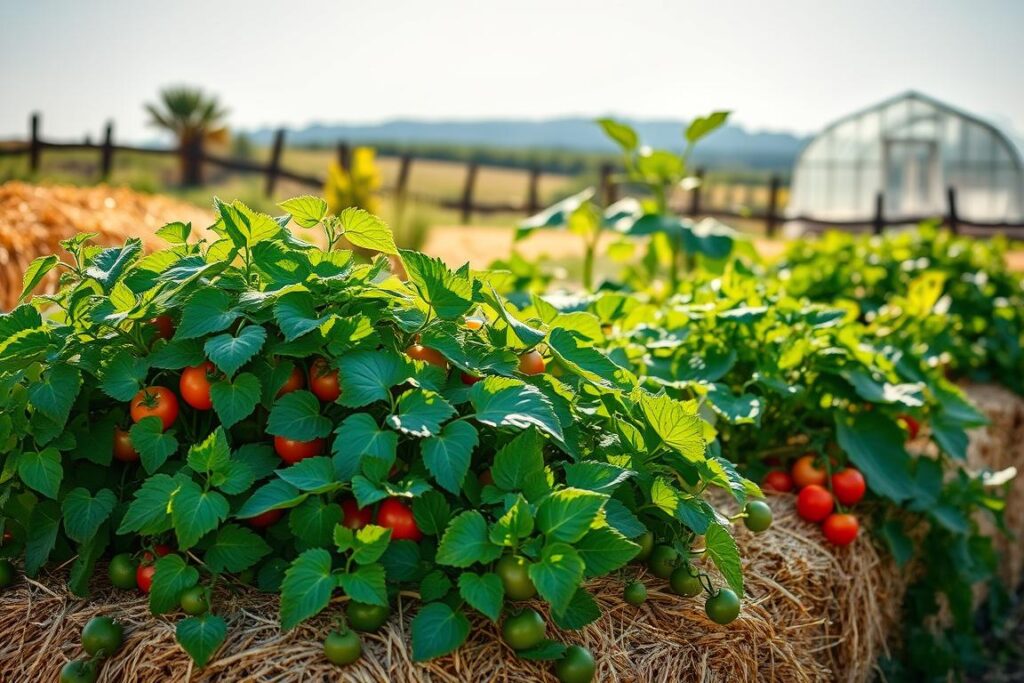
How the Bale Functions as a Growing Medium
Each 40-gallon unit acts like a living container. Initially sterile, it becomes a microbial paradise as decomposition progresses. Roots spread through air pockets while drawing nutrients from breaking-down materials.
Add starter compost when planting seeds directly. The structure balances moisture retention and drainage—no soggy roots here! By fall, what began as dry stalks becomes rich organic matter ready for your flower beds.
This evolving medium outshines static potting mixes. As one enthusiast noted: “My tomato yields doubled compared to ground planting—the roots loved the warm, airy environment.”
Planting Vegetables in Your Bale Garden
Ready to transform your growing space into a vegetable powerhouse? Let’s explore how to maximize yields while working with nature’s decomposing container. The key lies in matching plant needs to your setup’s evolving structure.
Ideal Crops for Productive Growth
Leafy greens and fruiting plants thrive best in these conditions. Follow these plants per bale guidelines for success:
| Crop | Quantity | Special Notes |
|---|---|---|
| Tomatoes | 2-3 | Use sturdy stakes |
| Cucumbers | 4-6 | Train vertically |
| Peppers | 4 | Compact varieties work best |
| Strawberries | 3-4 | Renew annually |
Avoid tall crops like corn—they become top-heavy as the material softens. Root vegetables also struggle without deep soil. Focus on plants that love warm, airy root zones.
Creating Divots and Proper Planting Techniques
Two methods deliver results. For seeds, spread 3″ of compost across the top like a raised bed. For transplants, carve 6″ pockets spaced 12-18″ apart. One grower shared: “My zucchini exploded after I lined each hole with worm castings!”
Time plantings after the conditioning phase when temperatures stabilize. Water deeply but gently—the porous structure drains quickly. With smart planting choices, you’ll harvest basketfuls from what was once just agricultural residue.
Supporting Your Plants for Successful Growth
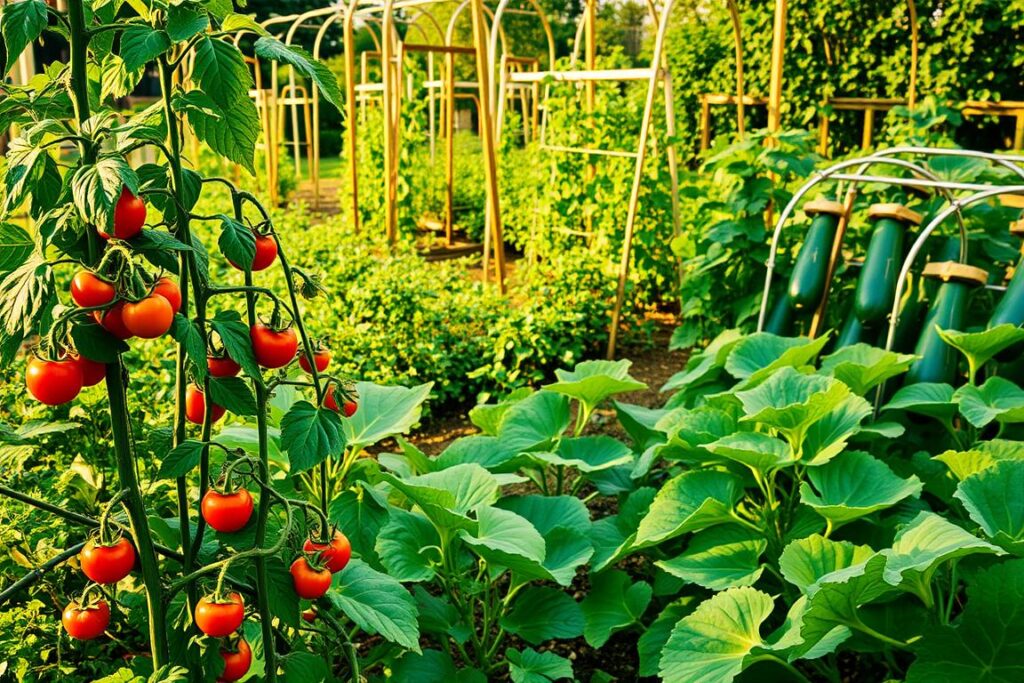
How do you keep heavy fruit from toppling your green treasures? Tall crops like tomatoes need sturdy frameworks, while vining varieties require smart guidance. We’ll share proven methods to protect your harvest without stressing delicate stems.
Staking Techniques for Tomatoes and Vine Crops
Wooden stakes work best for stability. Drive 6-foot poles through the center into the soil below using a mallet. Space them 18 inches apart for multiple plants. As tomatoes grow, secure stems every 12 inches with soft ties—this prevents snapping during summer storms.
Traditional cages often sink into decomposing materials. One grower explained: “Switching to stakes doubled my tomato yield—the plants got better air flow and sunlight.” For cucumbers, install A-frame trellises before planting to guide upward growth.
Choosing Gentle Ties Over Metal for Plant Support
Metal supports become oven-hot in direct sun, risking stem damage. Cut old t-shirts into 1-inch strips instead—they stretch as plants thicken. For extra security, use figure-eight loops between stems and stakes.
| Material | Heat Risk | Flexibility |
|---|---|---|
| Metal wire | High | Low |
| Fabric strips | None | High |
| Twine | Low | Medium |
Bush-type beans and cucumbers thrive with minimal support. Their compact form keeps fruit off the ground while fitting neatly atop your growing medium. Remember: Happy stems mean plentiful harvests!
Maintenance, Watering, and Troubleshooting
Keeping your setup thriving requires simple but strategic care. Unlike traditional plots, these decomposing systems need attentive hydration and nutrient monitoring. We’ll break down smart maintenance routines that protect your plants while letting nature do most of the work.
Balancing Nutrients Through the Growing Cycle
Feed plants weekly with organic fertilizer during peak growth. Liquid seaweed or fish emulsion works best—their quick absorption matches the rapid breakdown of materials. For tomatoes, add calcium-rich amendments to prevent blossom-end rot.
Create compost tea by steeping aged manure in water for 48 hours. This boosts microbial activity while providing trace minerals. One grower shared: “My kale leaves doubled in size after switching to weekly tea applications!”
Solving Challenges Before They Escalate
White mold signals excess moisture—reduce watering and increase airflow between units. If leaves yellow unexpectedly, test your water’s pH. Most crops thrive between 6.0-6.5 levels.
Adjust irrigation as materials break down. Early season needs daily soaking, but mature systems retain moisture better. For structural issues, wrap loose units with twine—this prevents mid-season collapse while maintaining root space.
FAQ
Q: How does this method compare to traditional raised beds?
A: We’ve found it requires less soil, reduces back strain, and offers better drainage. The decomposing material also generates natural warmth, extending growing seasons for heat-loving crops like tomatoes.
Q: Can we use hay instead of straw for this setup?
A: Hay often contains seeds that sprout weeds, while straw is cleaner. Always opt for organic wheat or rice straw—look for tightly bound, mold-free bales from local farms or garden centers.
Q: What’s the trick to conditioning bales properly?
A: Start by soaking them thoroughly for 3 days, then add nitrogen sources like blood meal or compost. Monitor internal temps with a probe—they’ll peak around 130°F before cooling, signaling readiness for planting.
Q: Which vegetables thrive best in this system?
A: Leafy greens, peppers, and cucumbers excel here. For root crops like carrots, mix a 2-inch soil layer on top to prevent loose material from affecting shape. Avoid heavy feeders like corn unless supplementing with liquid fertilizers.
Q: How do we support tall plants without damaging the bales?
A: Use bamboo stakes or soft jute twine instead of metal ties. Create teepee structures for vining beans or indeterminate tomatoes, anchoring supports deep into the bale for stability during summer storms.
Q: How often should we water during peak season?
A: Check daily—dry tops need a slow, deep soak. Drip systems or soaker hoses work best. In hot climates, add mulch to retain moisture and reduce evaporation between watering sessions.
Q: What if our bales develop mushrooms or algae?
A: Both are harmless signs of active decomposition! Scrape off mushrooms and reduce watering frequency. For algae, increase sunlight exposure by trimming nearby foliage if possible.