Year Round Indoor Salad Gardening
Get started with Year Round Indoor Salad Gardening. Our step-by-step guide helps you grow fresh salads every day.
Year Round Indoor Salad Gardening Read More »

Get started with Year Round Indoor Salad Gardening. Our step-by-step guide helps you grow fresh salads every day.
Year Round Indoor Salad Gardening Read More »
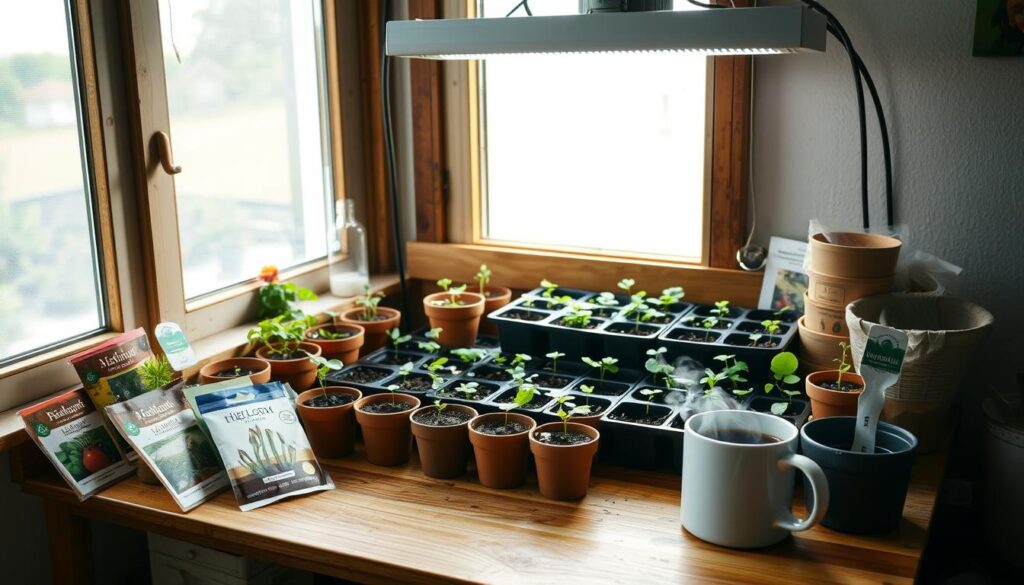
Growing your own plants from scratch offers a unique thrill that transforms gardening into an adventure. Imagine nurturing tiny specks of life into robust seedlings, ready to thrive outdoors. This method isn’t just practical—it’s a gateway to exploring rare heirloom varieties and exotic cultivars you’ll rarely find at local nurseries. Why do so many gardeners swear by this approach? For starters, it’s cost-effective. A single packet often yields dozens of plants for less than the price of one store-bought transplant. You’ll also gain weeks of growing time, especially in regions with shorter warm seasons. Picture harvesting tomatoes weeks earlier than neighbors who rely on pre-grown options! Beyond savings, there’s unmatched satisfaction in overseeing every growth stage. You control the soil mix, light exposure, and watering schedule—factors that shape healthier, sturdier plants. It’s like being both scientist and artist, tweaking variables to create your ideal green companions. Key Takeaways Access unique plant varieties unavailable as nursery transplants Significantly reduce gardening costs compared to buying mature plants Extend your growing season by weeks for earlier harvests Develop stronger seedlings through customized care routines Experience the joy of nurturing plants from their earliest stages Introduction to Indoor Seed Starting Imagine harvesting ripe tomatoes while neighbors are still planting seedlings—this power lies in mastering indoor germination. For plants needing extra weeks to mature, like peppers or petunias, beginning early becomes non-negotiable. Cold soil and lingering frost dates make direct outdoor planting risky for heat-loving varieties. Why Start Seeds Indoors? Long-season vegetables like eggplants demand 10-12 weeks indoors before transplanting. Check seed packets for crop timelines—they’ll tell you exactly when to begin. By syncing indoor sowing with your last spring frost date, you’ll have sturdy plants ready when soil warms. This method works wonders for slow-growing annuals like marigolds too. Benefits for the Home Gardener Warm potting mixes speed up germination, giving roots a healthy boost that outdoor conditions can’t match. You’ll save money too—growing 50 tomato plants from one $4 packet beats buying pricey nursery starts. Control every variable: light duration, moisture levels, and nutrient blends create vegetable champions prepared for garden life. Essential Supplies for Successful Seed Starting The foundation of robust seedlings begins long before the first sprout appears—it starts with gathering the right tools and materials. Your container choices and growing medium directly impact root development and disease prevention. Let’s explore what truly works for nurturing delicate young plants. Recommended Containers and Tools Cell flats—plastic grids with individual compartments—are my go-to for efficiency. These fit snugly into standard trays, creating a compact nursery. Small plastic pots (2-3 inches wide) also work well, provided they have drainage holes at the base. I’ve reused yogurt cups for years—just poke holes in the bottom! Proper drainage prevents waterlogged roots, a common killer of seedlings. If you’re reusing old containers, scrub them with a 10% bleach solution. This eliminates harmful pathogens from previous seasons. Trays beneath pots catch excess water while keeping surfaces tidy. Choosing the Right Potting Mix Garden soil is too dense for tender roots. Commercial potting mixes, however, offer the perfect balance. Look for blends with peat moss and vermiculite—they’re lightweight and retain moisture without becoming soggy. These sterile mixes eliminate weed competition and reduce disease risks. I avoid adding fertilizers initially; young plants thrive on the mix’s natural structure. When filling containers, gently press the mix to remove air pockets—this ensures good root-to-soil contact. Your seedlings’ first home matters more than you might think. With the right containers and mix, you’re setting the stage for vigorous growth that continues outdoors. Preparing Your Seed Starting Area for Optimal Germination The secret to sprouting success lies in crafting the perfect germination haven. Your setup isn’t just about pots and soil—it’s about creating a stable environment where life can burst through dormant shells. Location matters as much as technique here. Setting Up a Clean, Safe Location I always choose spaces far from chaos. High-traffic zones risk knocked-over trays, while curious pets might dig up your work. Basements often shine here—their steady temperatures prevent the wild swings that stress delicate sprouts. Avoid drafty windowsills where midday sun could fry tender roots by noon. Cleanliness is non-negotiable. Wipe surfaces with vinegar solution before arranging trays. This simple step prevents mold and bacteria that thrive in moist conditions. If your space feels chilly, a heating mat under trays keeps soil cozy without overheating the air. Ideal Temperature and Humidity Most plants wake up best in soil warmed to 68°–86°F. I use a probe thermometer to check daily. If readings dip, heating mats boost warmth precisely where roots develop. Air humidity needs balance—too much invites fungus, too little dries out casings. Clear plastic domes trap moisture during early growth phases. Lift them daily for airflow, removing condensation with a towel. Once sprouts appear, reduce water slightly to encourage stronger stem growth. Remember: consistent care beats perfect conditions every time. Mastering Starting seeds indoors Timing separates thriving seedlings from struggling plants. Many gardeners jump the gun, sowing weeks before their climate allows. Those eager sprouts stretch toward inadequate light, becoming spindly and weak. I’ve learned this lesson firsthand—once transplanted, leggy plants often snap in wind or fail to establish strong roots. Your last frost date holds the key. Count backward using the “weeks to transplant” number on every packet. A tomato needing 6 weeks indoors? If frost typically ends May 1, sow around March 20. This math prevents overcrowded windowsills and stressed plants racing against calendar pages. Quick growers like basil thrive with just 4 weeks indoors. Slowpokes—think celery or onions—demand 12-14 weeks. Match each variety’s needs to your local spring thaw. I keep a spreadsheet with frost dates and crop times, adjusting annually based on weather patterns. Resist the “earlier is better” myth. Stocky, compact seedlings adapt better to outdoor life than overgrown ones. Track sowing dates religiously, and you’ll greet transplant day with robust plants primed for success. Patience here pays dividends all season long. Techniques for Sowing and Labeling Your Seeds Even seasoned gardeners face
Indoor Seed Starting: Get a Head Start on Your Garden Read More »
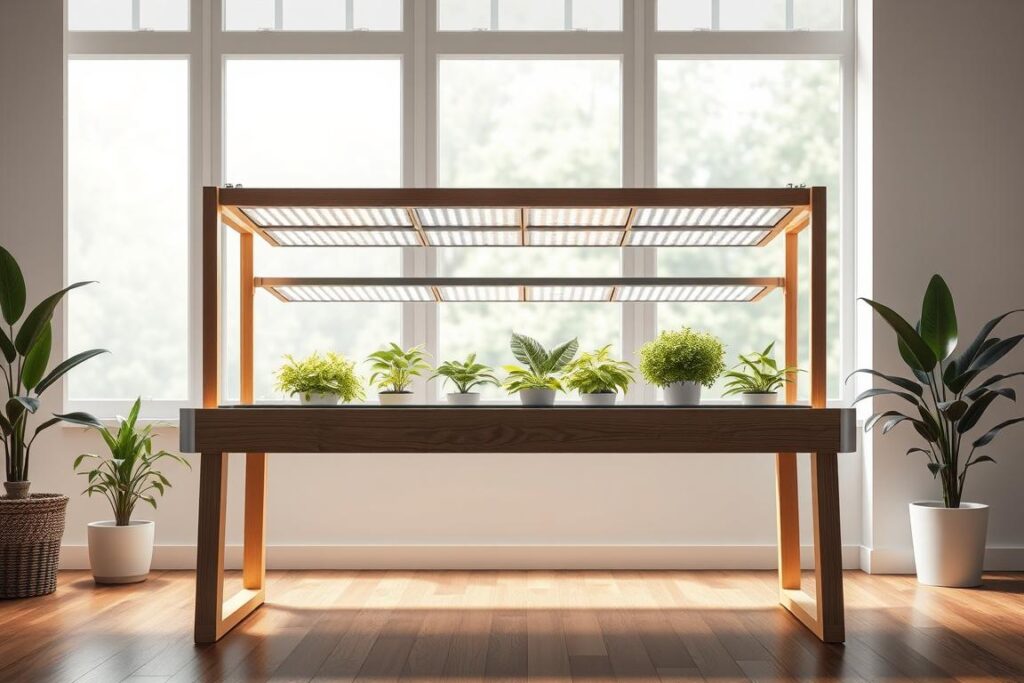
Learn how I built a custom indoor grow-light table for my home garden. Step-by-step guide on how to create your own.
How to Build a Indoor Grow-Light Table Read More »
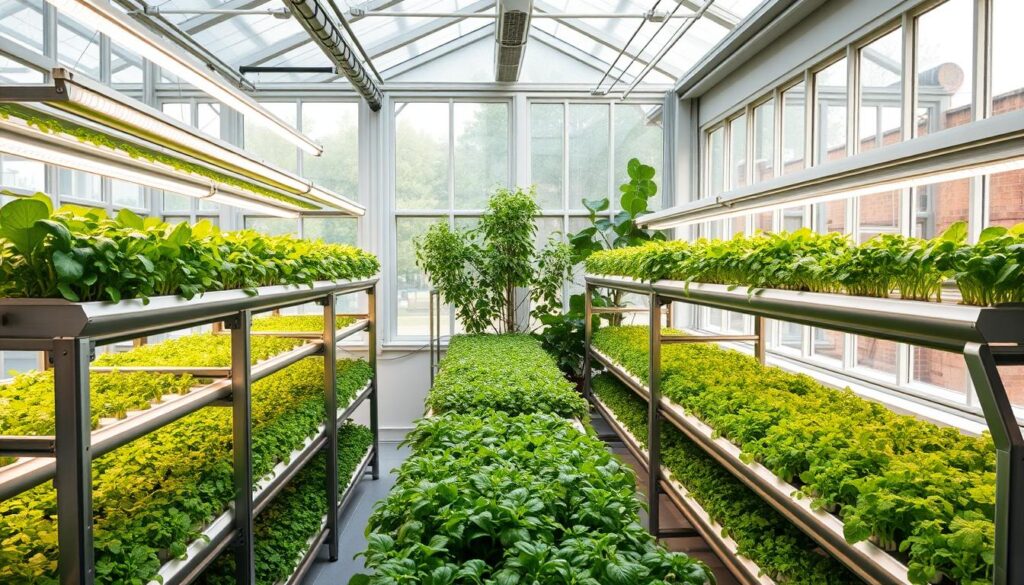
Enjoy the convenience of homegrown produce with our hydroponic gardening tips. Create a self-sustaining indoor garden and savor the freshest ingredients.
Hydroponic Gardening: Grow Fresh Produce at Home Read More »
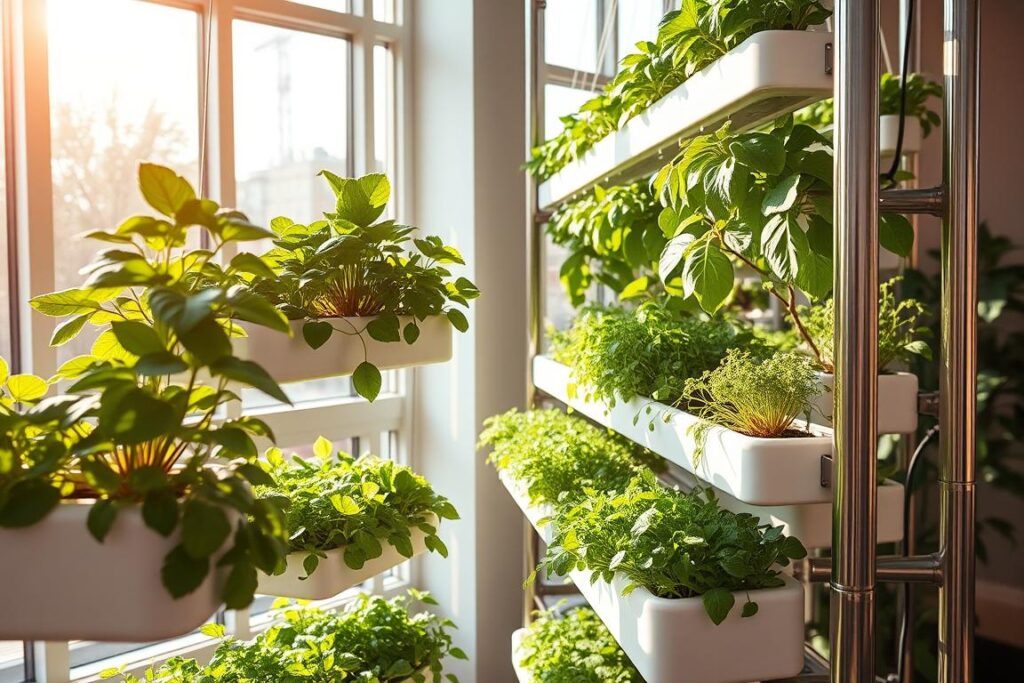
Learn the secrets to cultivating a vibrant garden in small spaces with my small space gardening guide.
Small Space Gardening: Grow a Thriving Garden in Limited Space Read More »
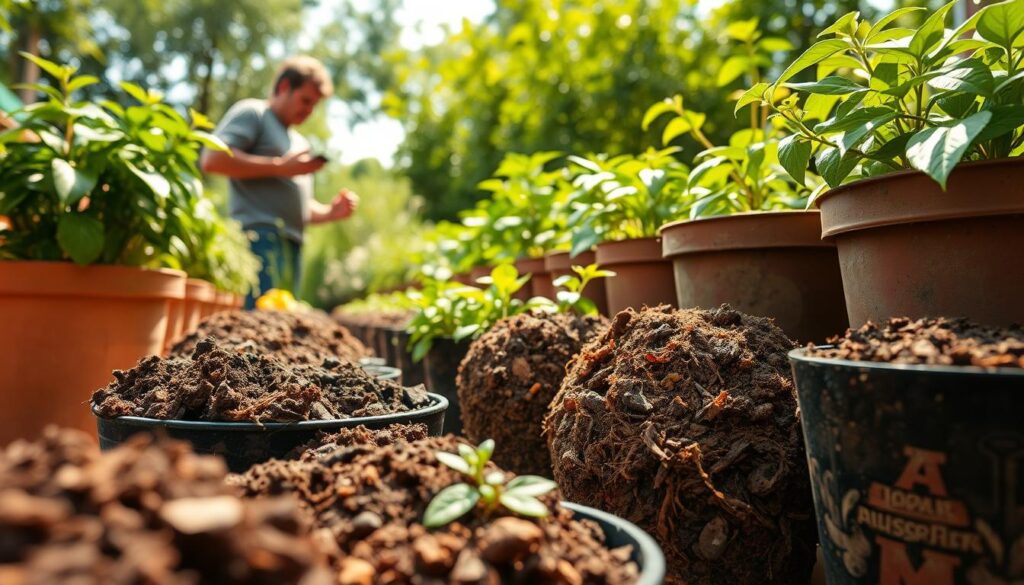
Get the scoop on choosing the ideal soil for thriving container plants in your garden.
Choosing the Right Soil for Thriving Container Plants Read More »
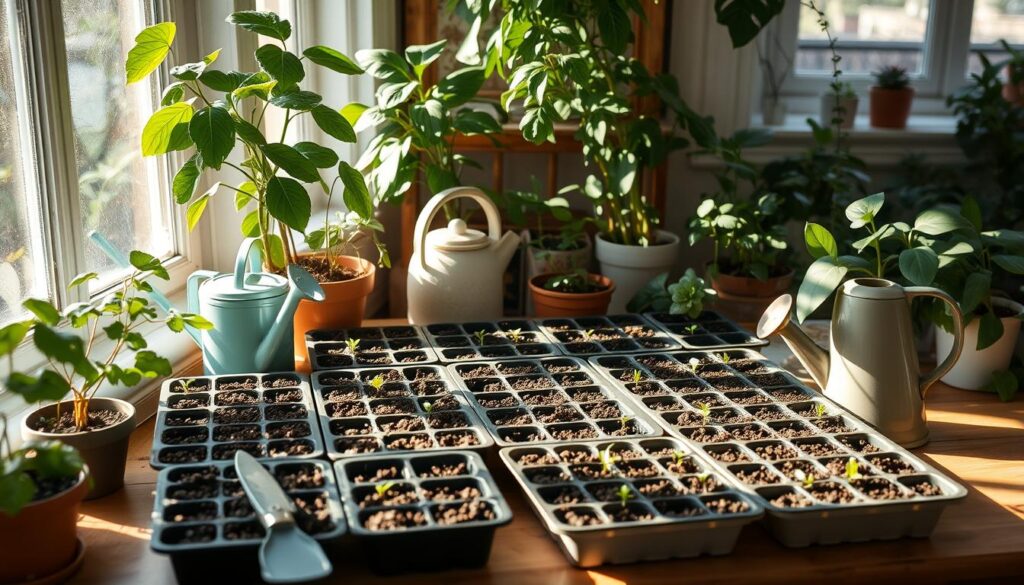
Learn how to effortlessly start seeds indoors for a lush, productive garden. Get our expert tips today.
How to Effortlessly Start Seeds Indoors for a Thriving Garden Read More »
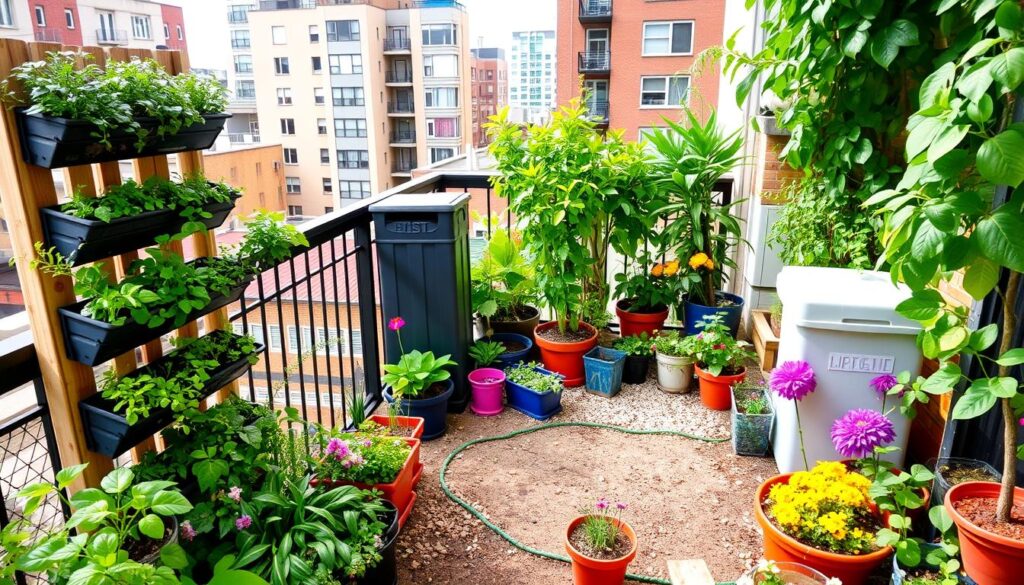
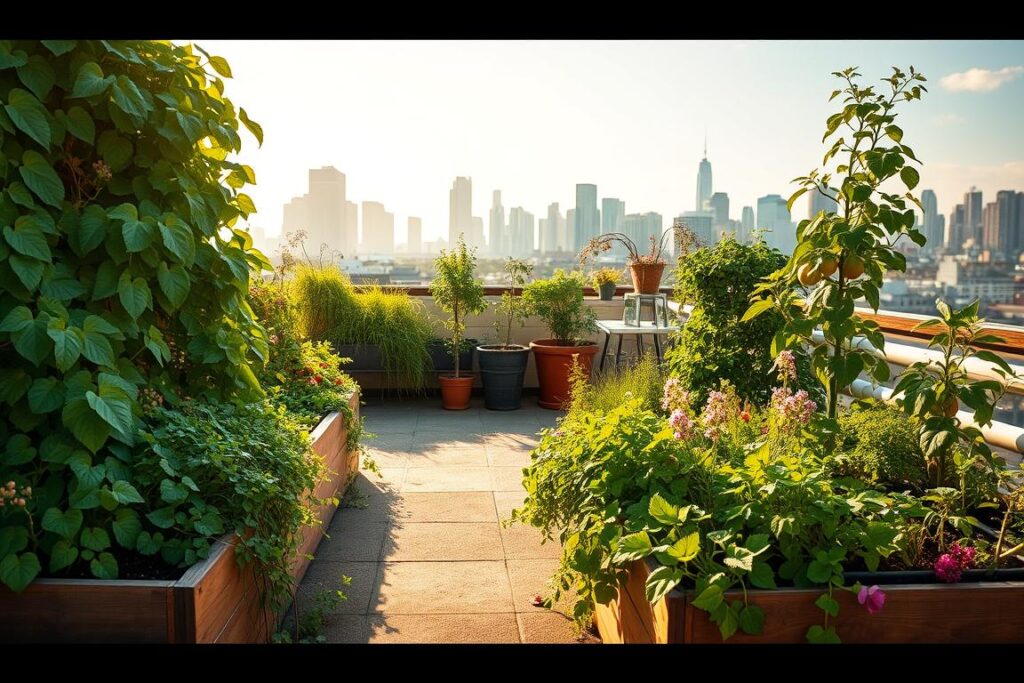
As an urban homesteader, I’ll show you how to ‘Homestead in small spaces’ and grow a bountiful garden in your backyard or balcony.
Homesteading in Small Spaces: Maximize Your Urban Garden Read More »
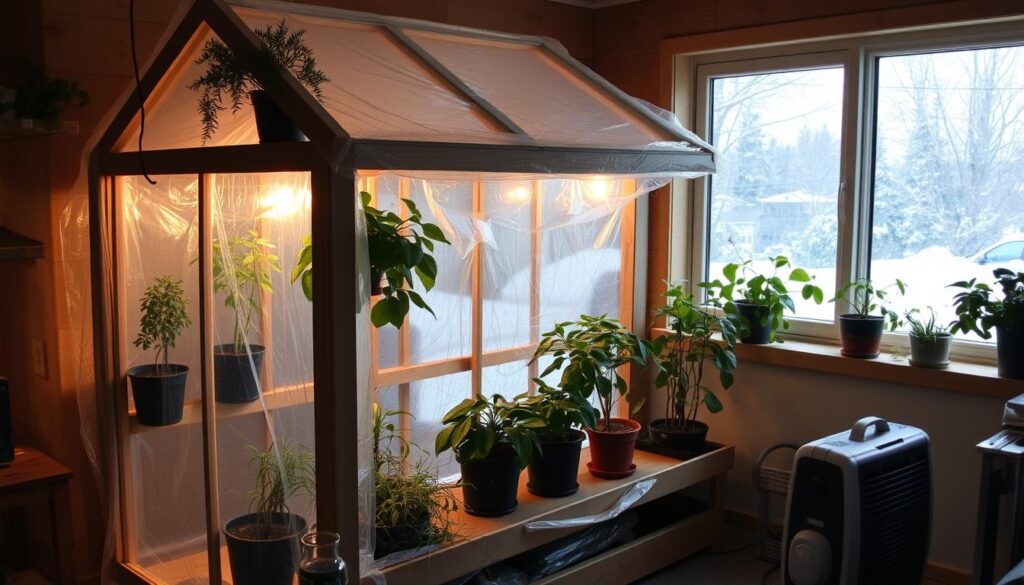
Learn how to protect your plants during cold months by Creating a DIY Winter Greenhouse for Your Indoor Plants. Simple steps to maintain optimal growing conditions at home.
“Creating a DIY Winter Greenhouse for Your Indoor Plants” Read More »
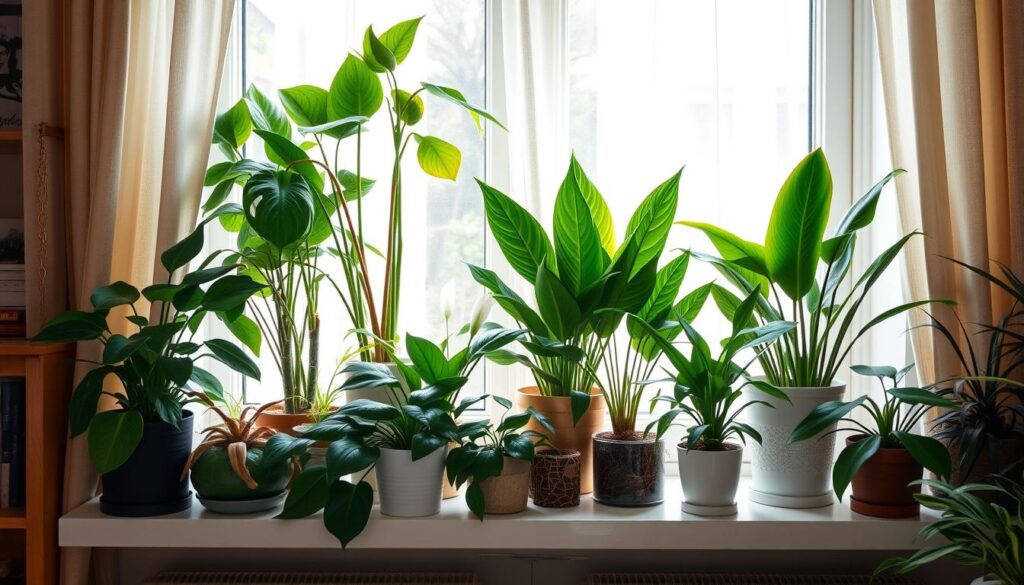
Discover my top picks for the best low-light houseplants for short winter days and learn how to keep your indoor garden thriving when natural sunlight is scarce
“The Best Low-Light Houseplants for Short Winter Days” Read More »